CONSTRUCTION
The Plans
I spent much of the winter of 2013 reading researching and deciding what type of observatory would work best for my needs. My first inclination was to be traditional and go with a basic domed observatory --- after all, that’s what an observatory is supposed to look like, right? They aren’t without their drawbacks, however, with the biggest one being that you can only see a small portion of the sky at once. While this is helpful in keeping warm and keeping dew off the equipment, I wanted to feel a bit more immersed in the environment while I was observing. There is a calm and peacefulness associated with just sitting out under the stars. Also, most domed observatories are quite small, limiting the amount of space you have for additional equipment and guests. With this in mind, I opted to build a rolloff roof observatory. After much debate, I decided to purchase and use plans from SkyShed Observatories.
Although I have never done any serious construction work, the plans were very descriptive, complete, and helpful and I figured that I was up to the challenge. I decided to build a 10’x10’ rolloff roof observatory and set my maximum budget limit at $5000, including all materials, tools, equipment, and the actual pier for the telescope. I used the materials list included with the SkyShed plans to order the lumber from a local supplier and had it delivered. I worked with other local suppliers to obtain the garage door track and other parts that couldn’t be supplied by the lumber company. Once I had what I needed, we were ready to get underway with the actual construction.
Although I have never done any serious construction work, the plans were very descriptive, complete, and helpful and I figured that I was up to the challenge. I decided to build a 10’x10’ rolloff roof observatory and set my maximum budget limit at $5000, including all materials, tools, equipment, and the actual pier for the telescope. I used the materials list included with the SkyShed plans to order the lumber from a local supplier and had it delivered. I worked with other local suppliers to obtain the garage door track and other parts that couldn’t be supplied by the lumber company. Once I had what I needed, we were ready to get underway with the actual construction.
The Foundation
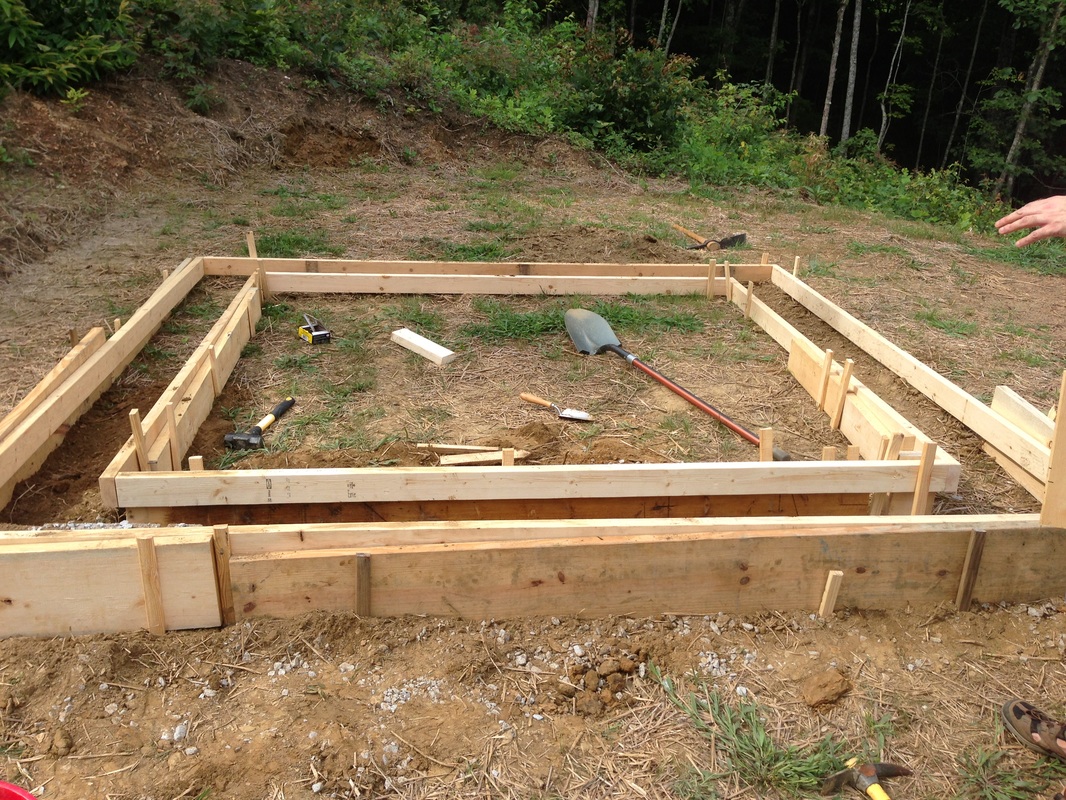
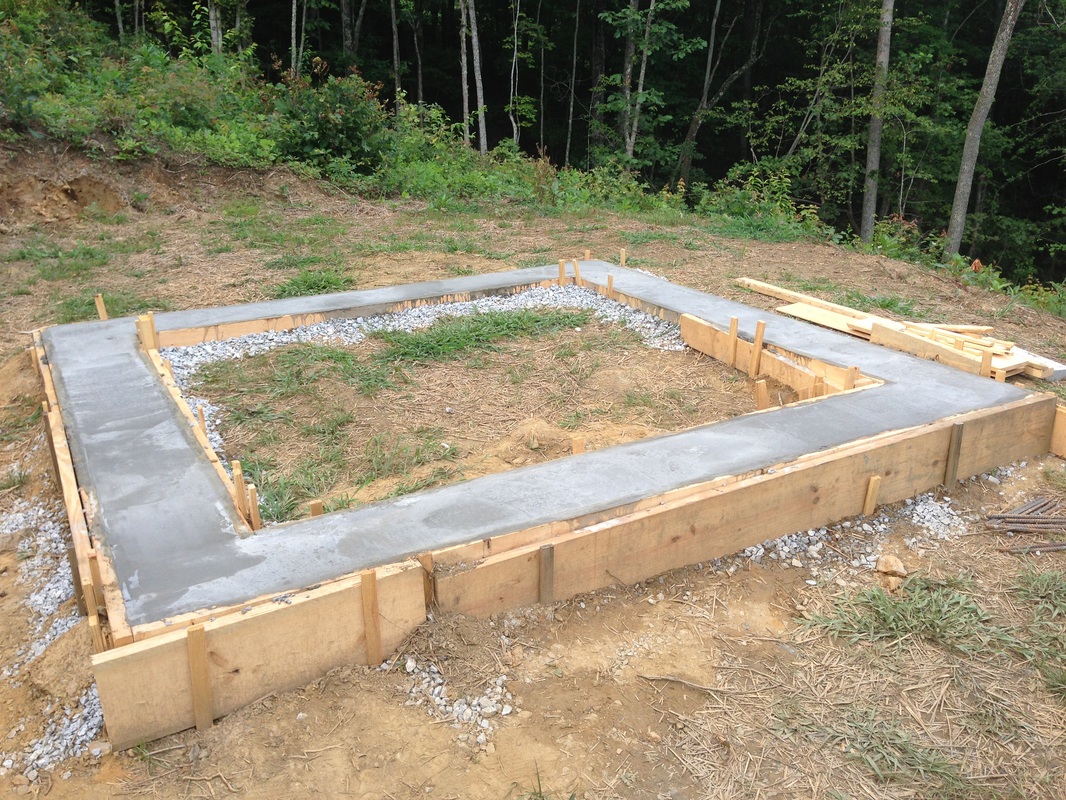
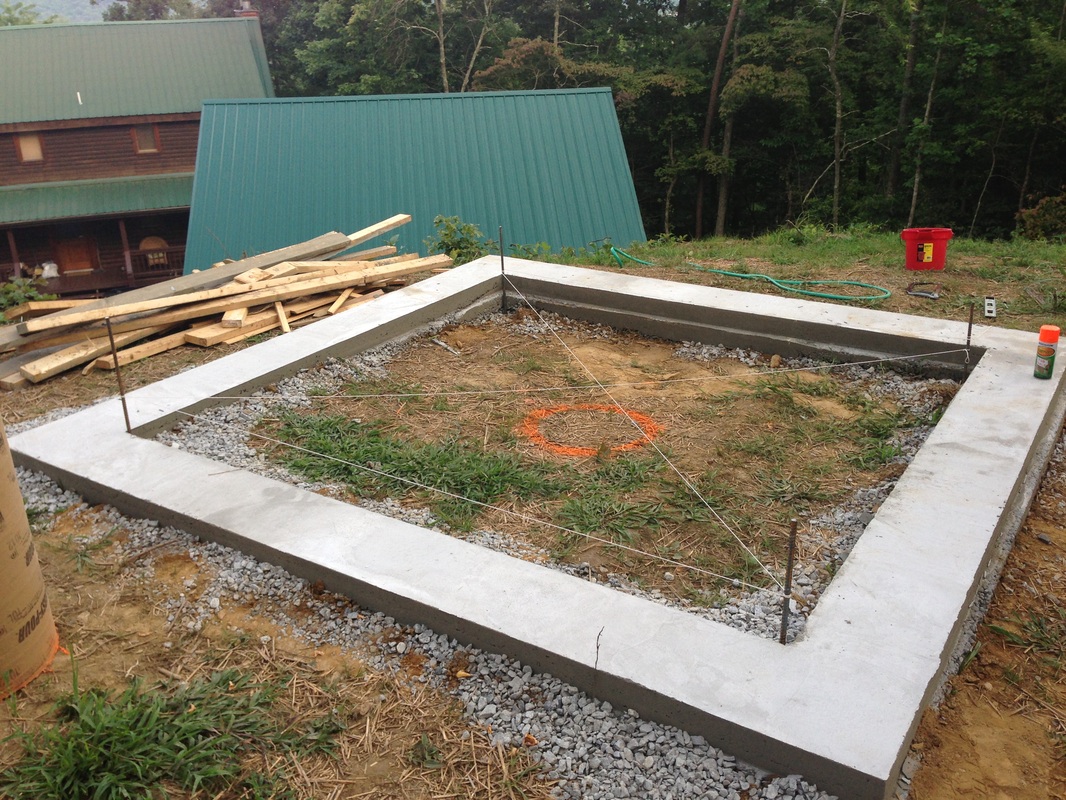
After a few trips and distractions in the spring, we finally started construction of the observatory in July of 2013. The first step was to decide on the type of foundation. The SkyShed plans don’t really require a traditional concrete pad foundation. They suggest building the subfloor and floor on paver stones. While I know many folks have done that successfully, I was worried about how much trouble it was going to be to level considering that I didn’t have perfectly level ground to work with. Building on concrete piers was considered, but the ground I have is almost entirely slate rock and difficult to dig. I wasn’t looking forward to the prospect of digging so many holes. I opted instead to pour a 12” wide concrete perimeter foundation. This seemed like the best compromise between my various options and the terrain I was working with.
The Pier
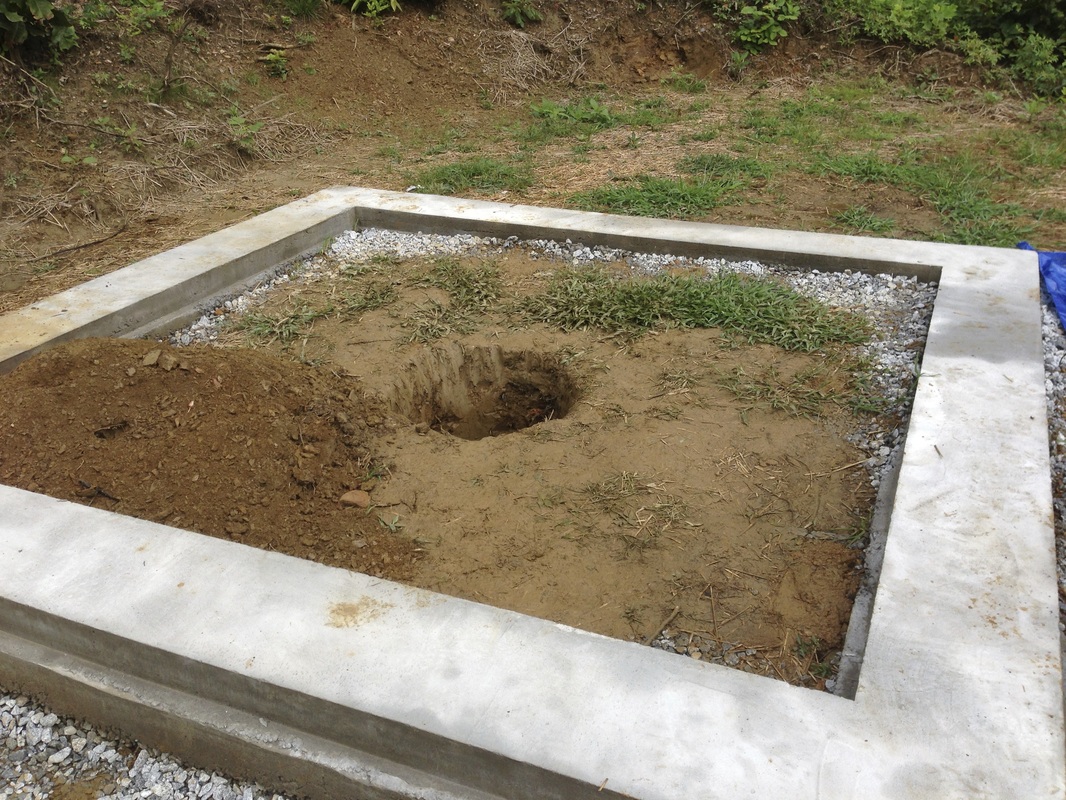
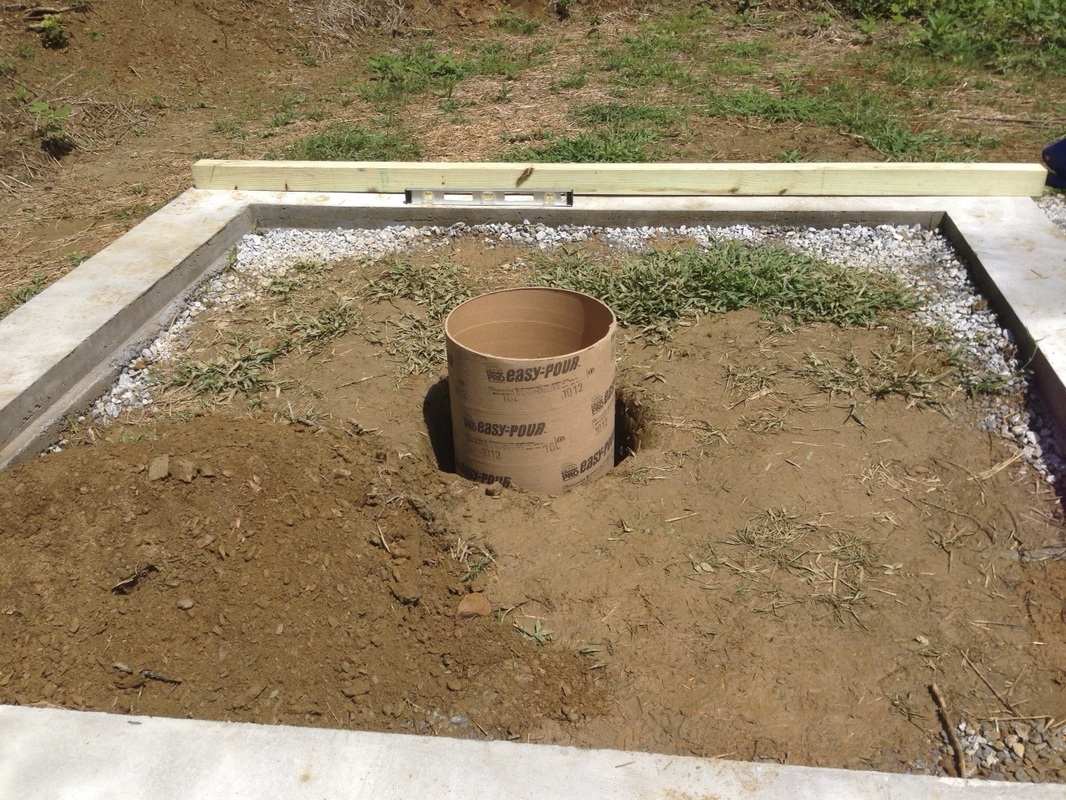
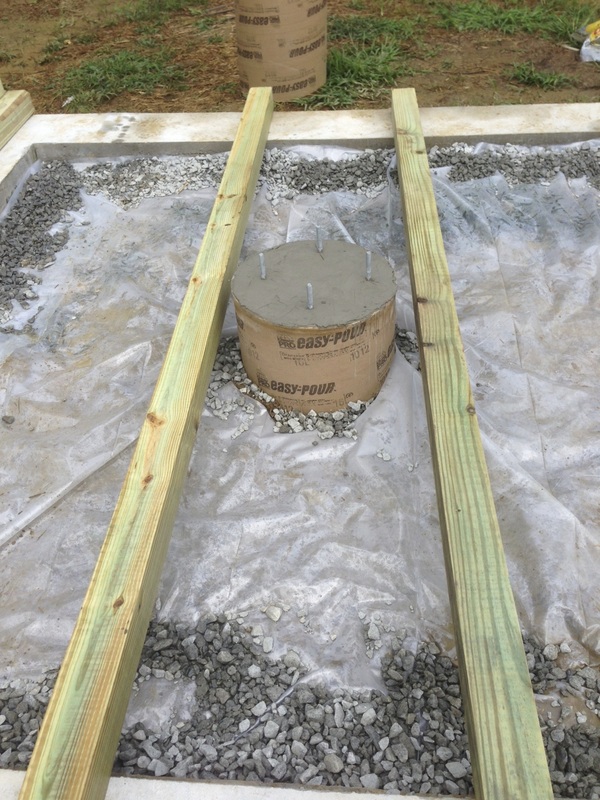
With the foundation complete, we started work digging the hole for the concrete pier. I decided to go with a combination concrete/steel pier system. I ordered the steel pier directly from SkyShed. After working with a couple of local metal fabricators, SkyShed still had the best price even factoring in shipping. Since the scope is a 14" Schmidt-Cassegrain, the entire mount and scope is over 200 pounds so I went with the largest pier size of 8 5/8". In order to hold a steel pier of that size, I had to get a 14" Sonotube and dig the hold 48" deep. A couple of items worth noting is that to get a Sonotube of that size, you'll have to go to a local concrete supplier. It's not something you can get at Home Depot or Lowe's in that particular size. Once you decide on a pier, you'll need to make a wood template for the base mount to hold your J-Bolts in place while the concrete sets. I was able to download a template from Skyshed that allowed me to make the J-Bolt holder prior to ordering the mount itself.
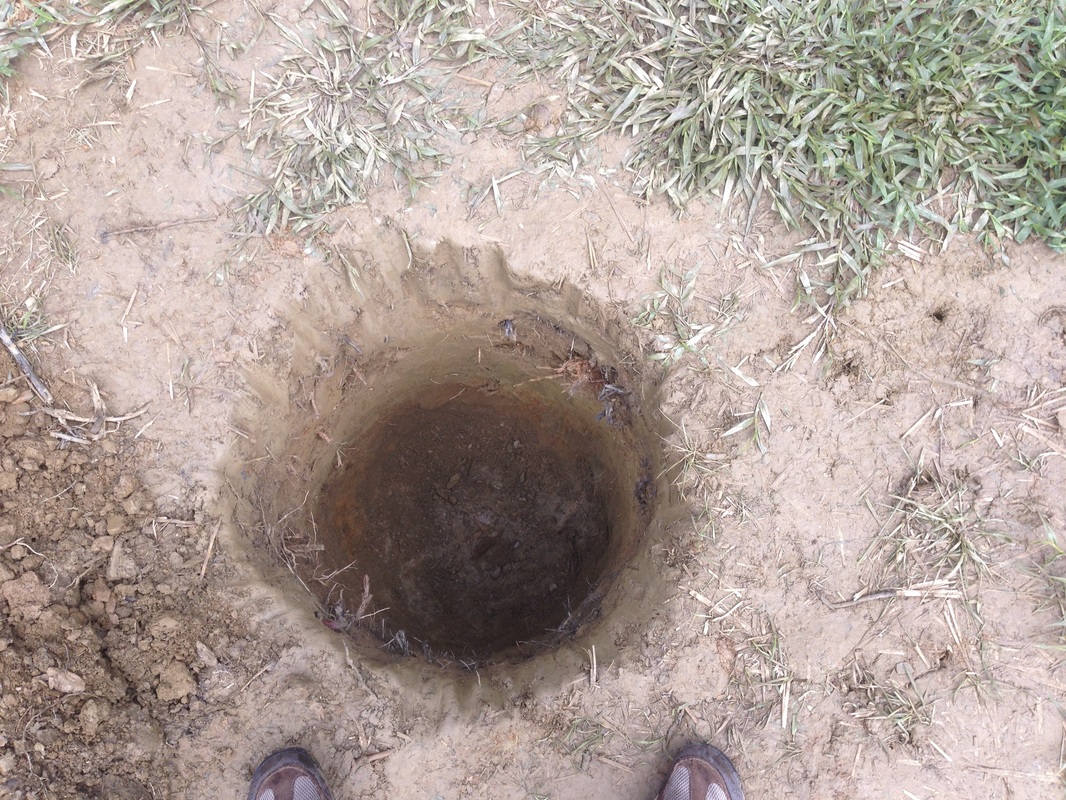
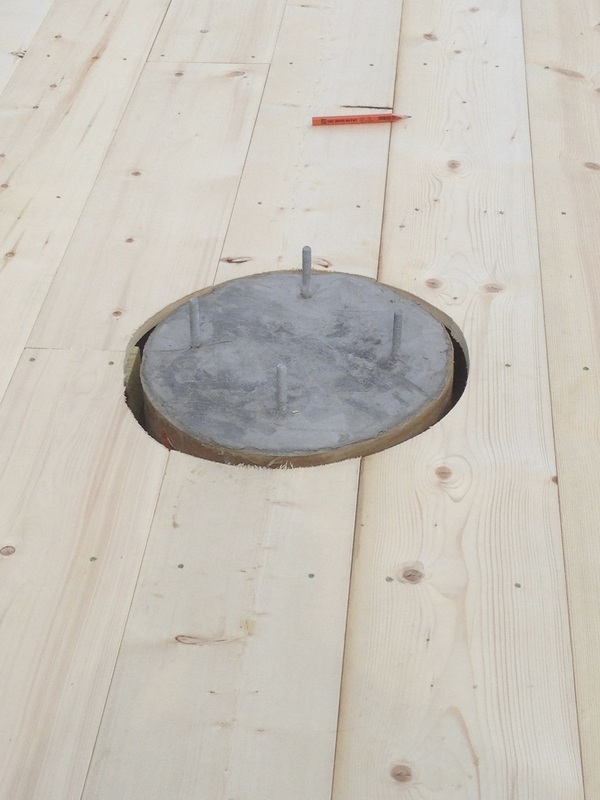
Digging the hole was a challenge because our soil is mostly made up of slate rock. While it does break easily enough, it still takes a lot of extra work. We used a combination of post hole diggers, a gas-powered auger, and shovels. It took about half a day to dig it and another couple of hours to pour the concrete. I wanted the concrete to come just to the bottom of the wood floor, so I measured accordingly and cut the Sonotube to size. We put a layer of gravel in the bottom and leveled before pouring it.
Digging the hole was a challenge because our soil is mostly made up of slate rock. While it does break easily enough, it still takes a lot of extra work. We used a combination of post hole diggers, a gas-powered auger, and shovels. It took about half a day to dig it and another couple of hours to pour the concrete. I wanted the concrete to come just to the bottom of the wood floor, so I measured accordingly and cut the Sonotube to size. We put a layer of gravel in the bottom and leveled before pouring it.
The Floor
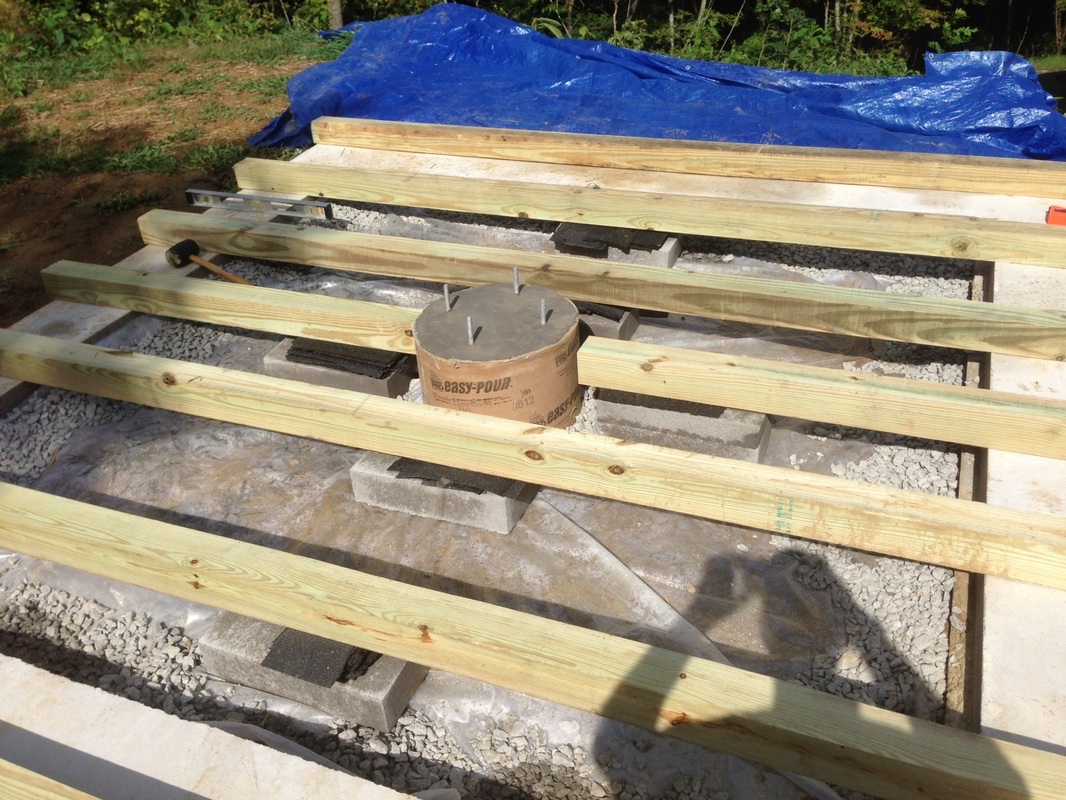
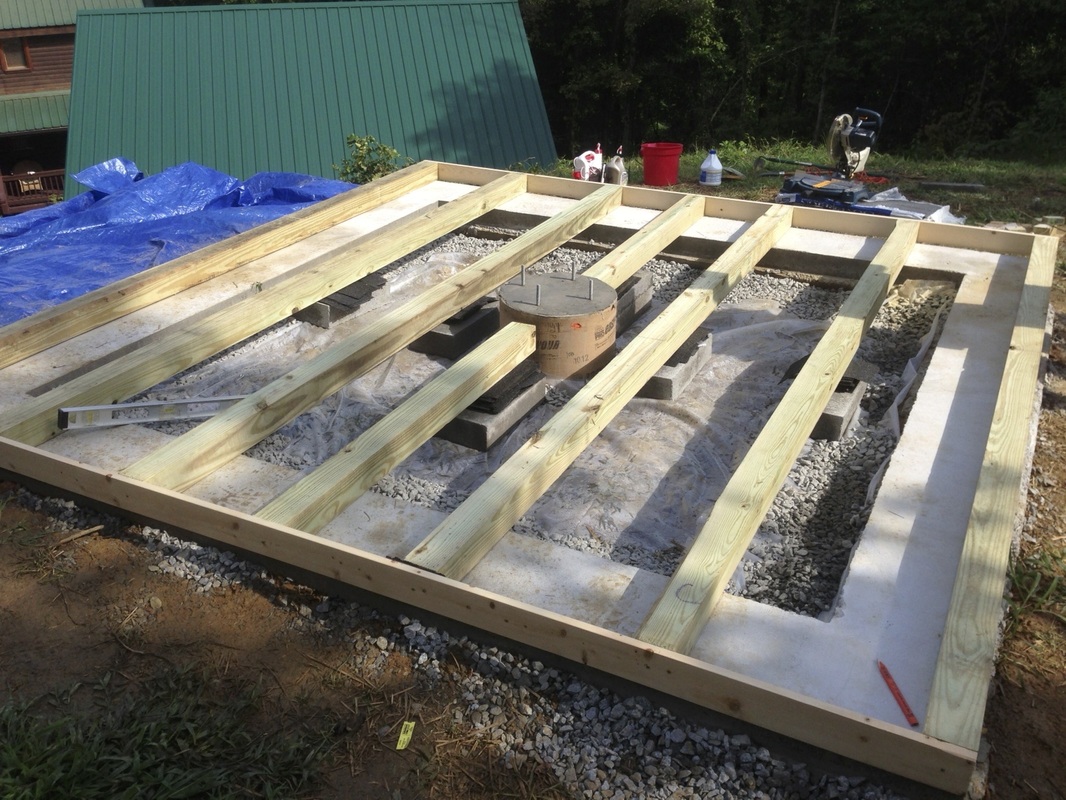
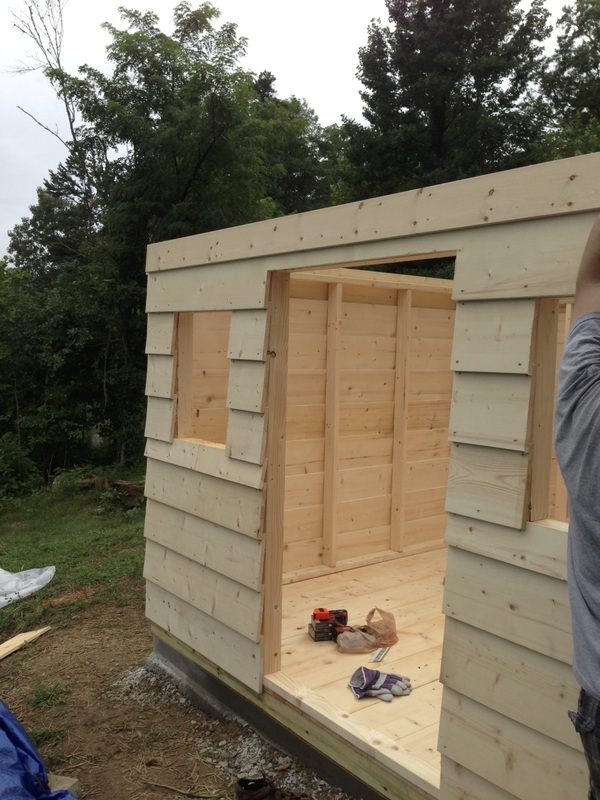
With the perimeter foundation and pier poured and set, we proceeded to lay out the 4x4's that form the base for the wood floor per the Skyshed plans. Using the 4x4's on top of the concrete perimeter foundation raises the observatory floor several inches off the ground, which helps keep moisture and critters out. We laid down a layer of plastic ground covering and gravel inside the perimeter foundation. We evenly spaced and leveled the 4x4's to match the width of the floor (10'x10'). Leveling was easy since the 4x4's lay across the perimeter foundation which was already level. We used paver stones to provide extra support in the center of each 4x4 beam and shimmed with shingles.
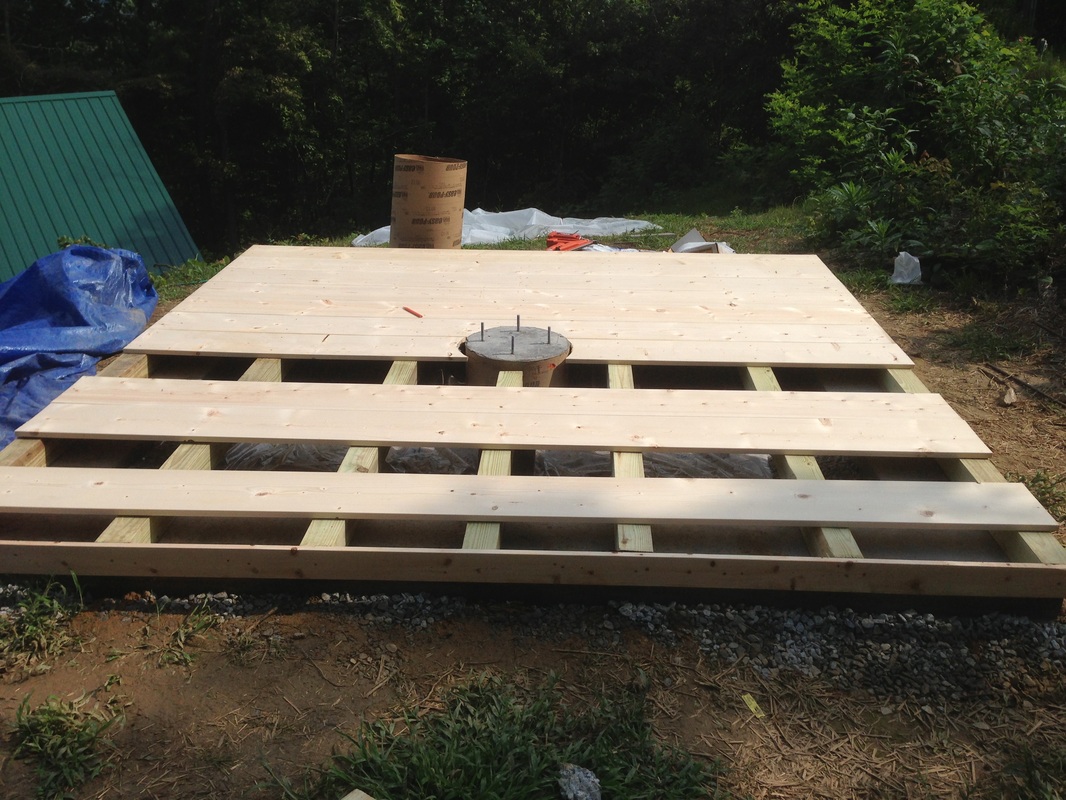
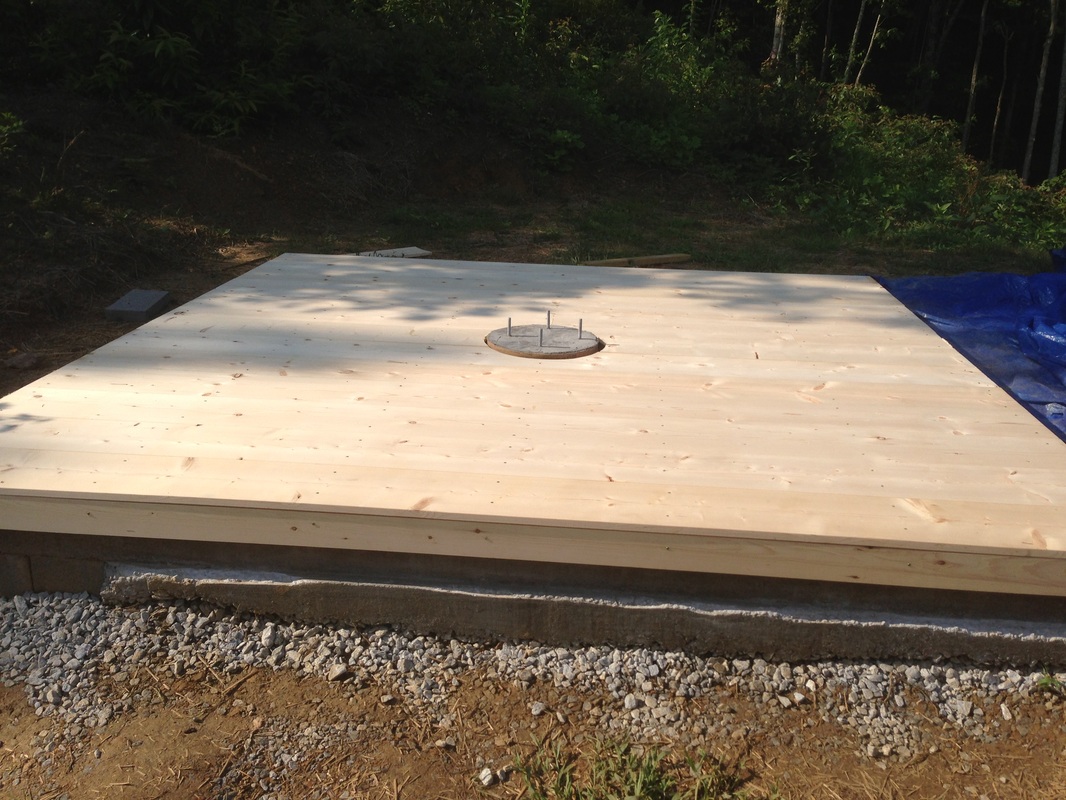
After the 4x4's were placed, the 1x10 flooring went down quickly. Several boards are attached with screws to provide access under the floor for running wiring if desired. If I were building this again, I would probably consider using OSB board for the floor to save money over the cost of the individual 1x10 boards. The boards do provide some flexibility because they can be individual removed if necessary, but they also expand and contract slightly based on humidity.
The Walls
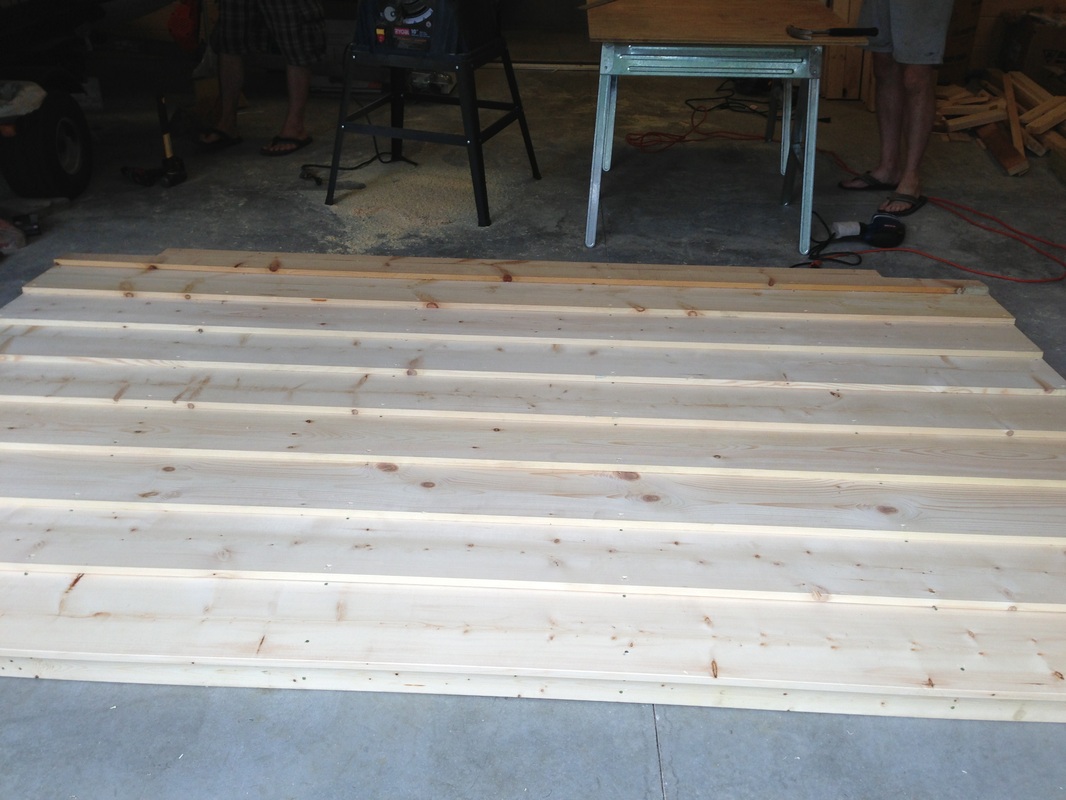
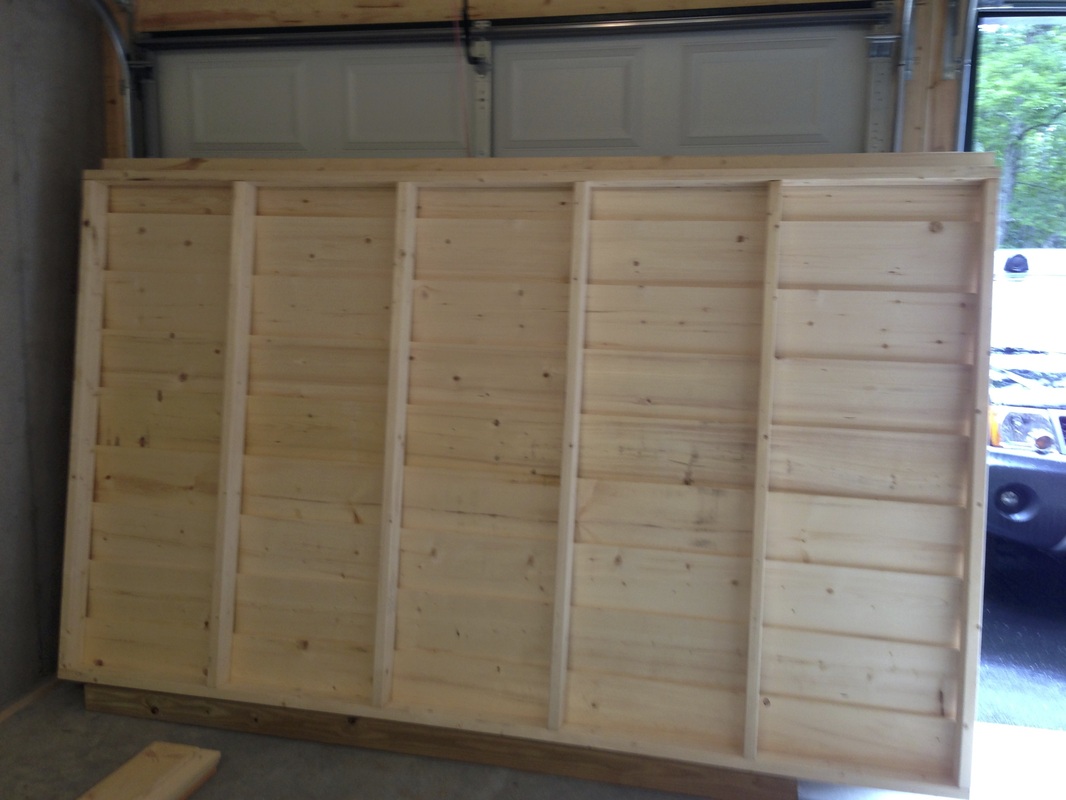
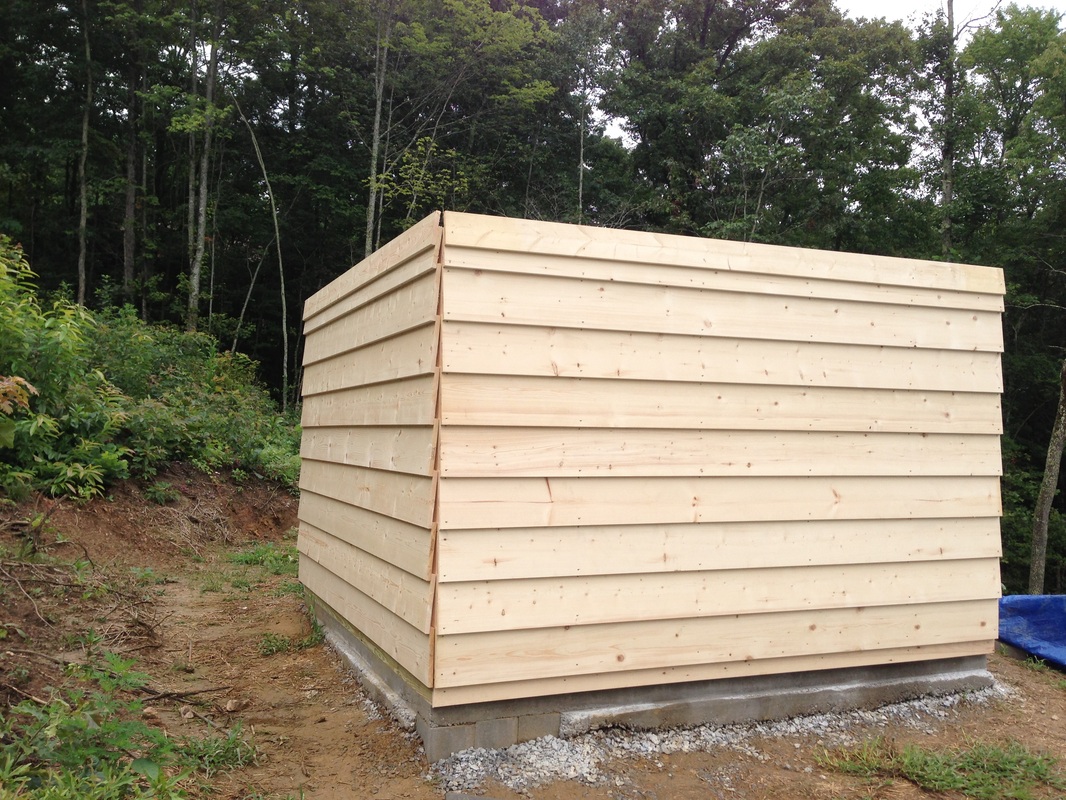
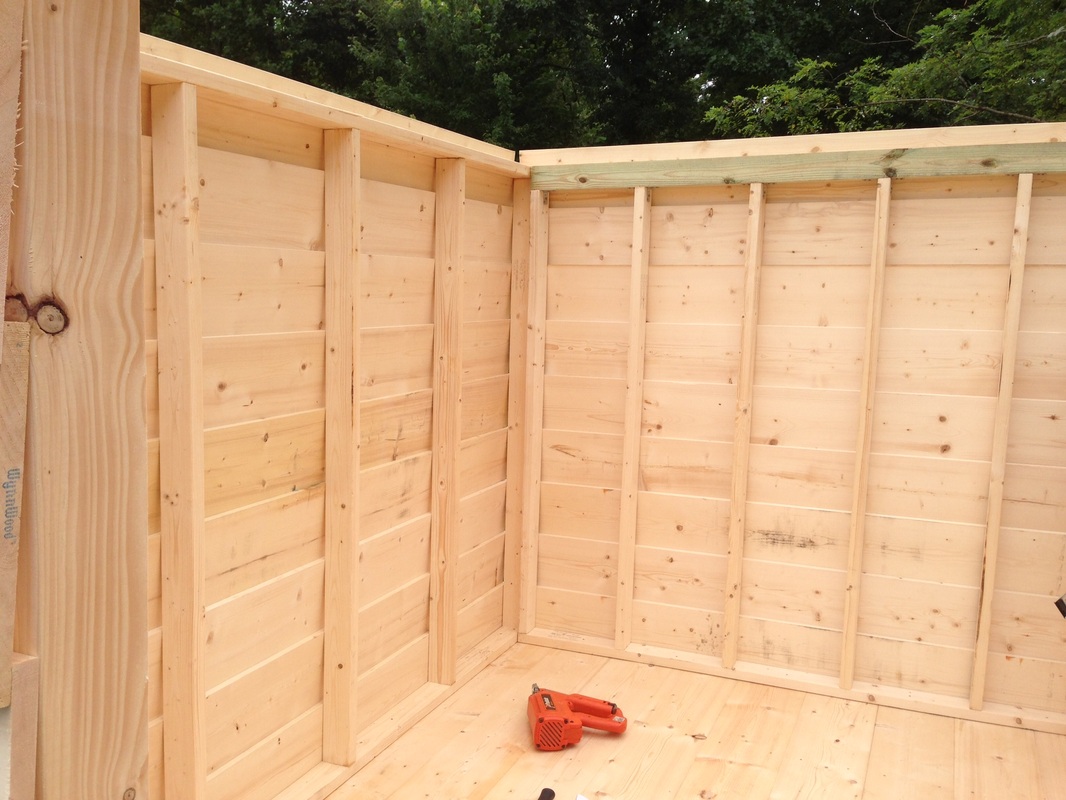
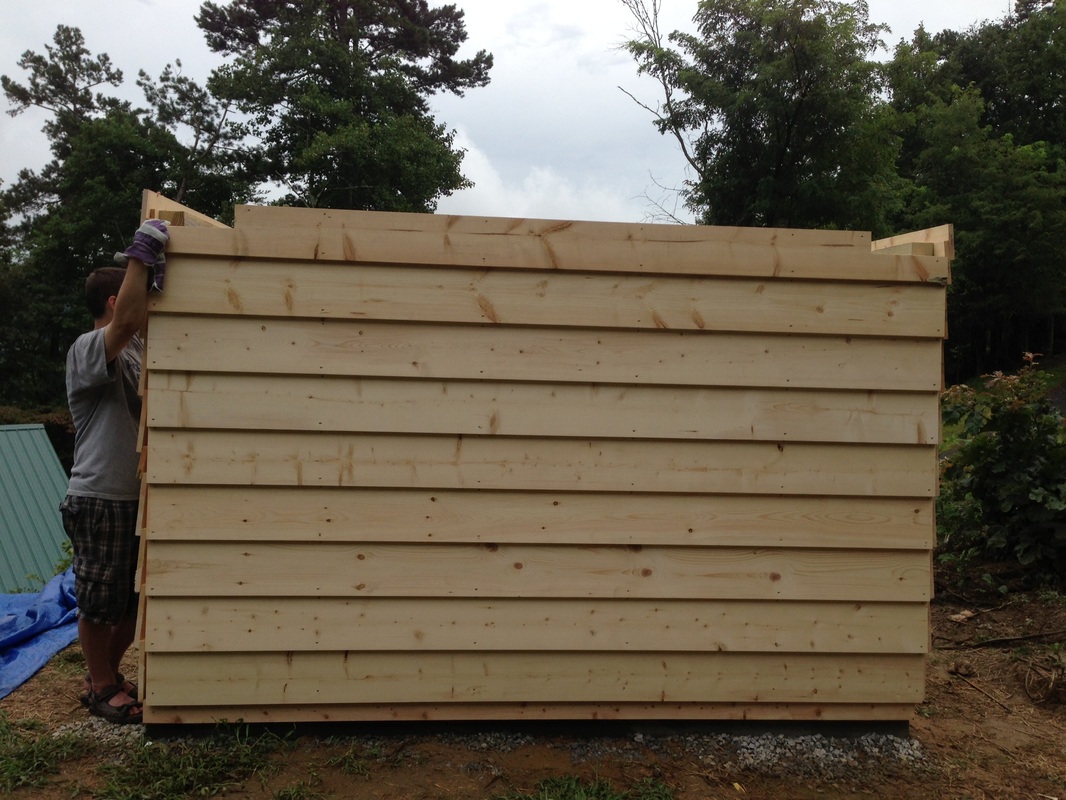
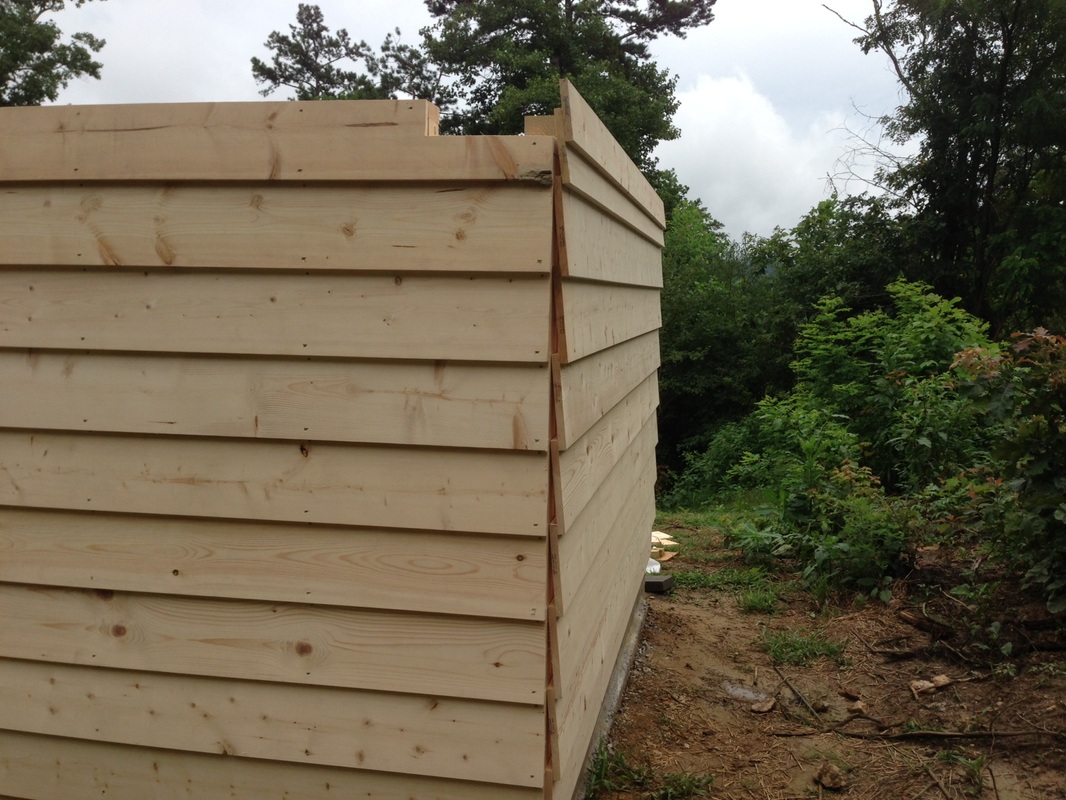
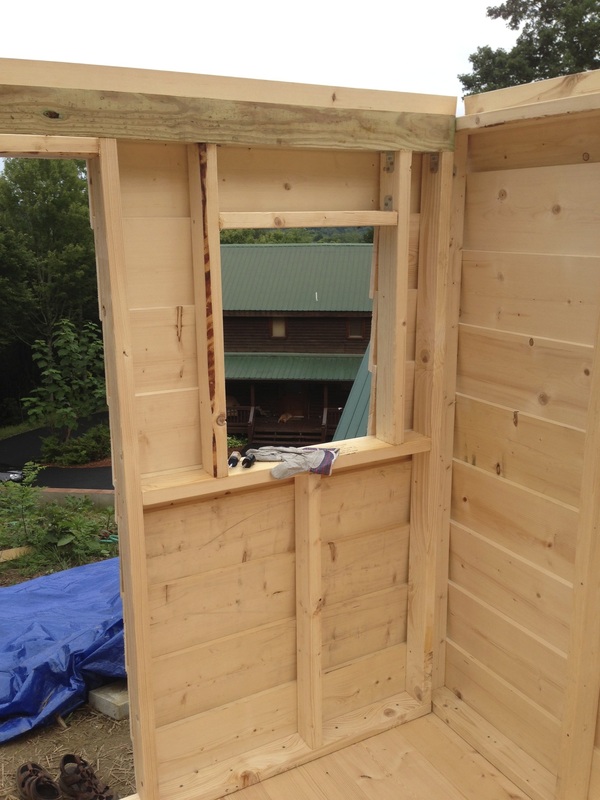
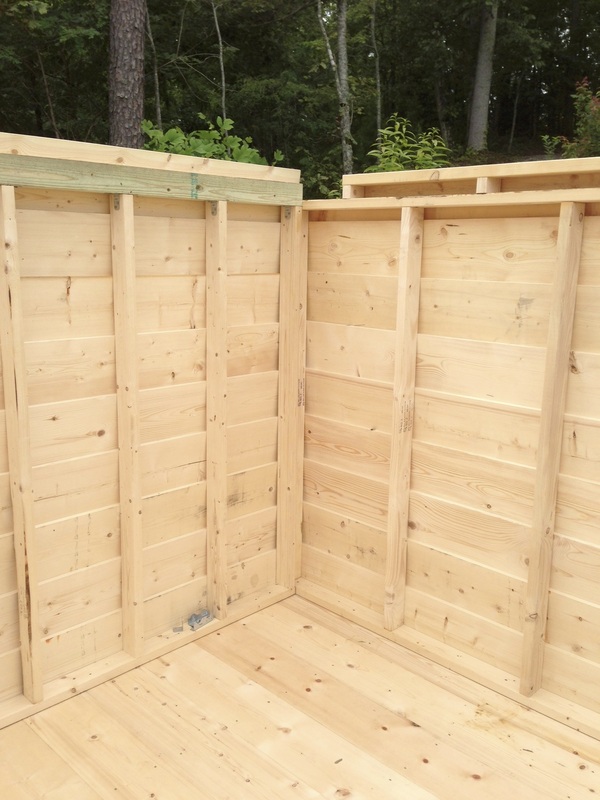
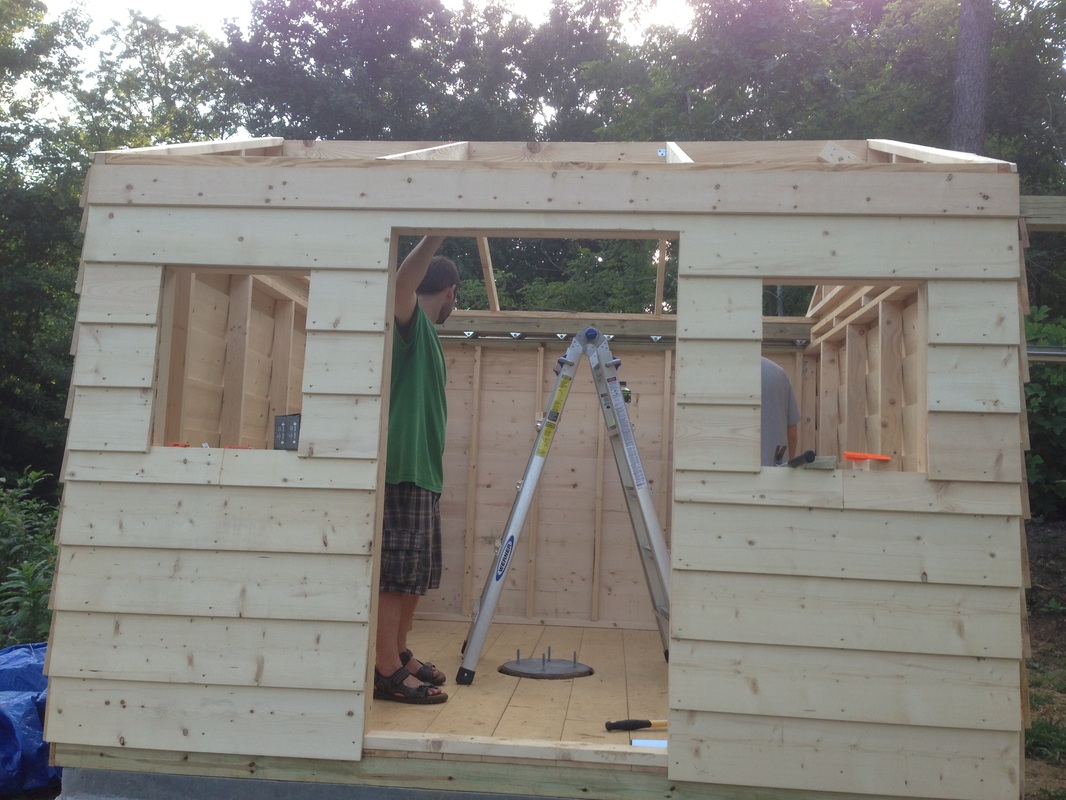
I built the individual wall panels, per the SkyShed plans, over the course of a weekend. I constructed them in my garage so I would have easy access to the tools I needed and protection from the weather. The garage is about 100 feet away from the observatory site, and downhill from it, which later proved to be a challenge with moving the walls. Due to the nature of the building, each wall is slightly different in construction. I found the walls the most difficult components to construct, but in the end they came together well. One thing that could be done differently to save cost is to frame the walls and use OSB board for the exterior. You could then use your choice of siding (wood, vinyl, etc.) for finishing. This would have the added benefit of making the structure a bit more air/bug tight.
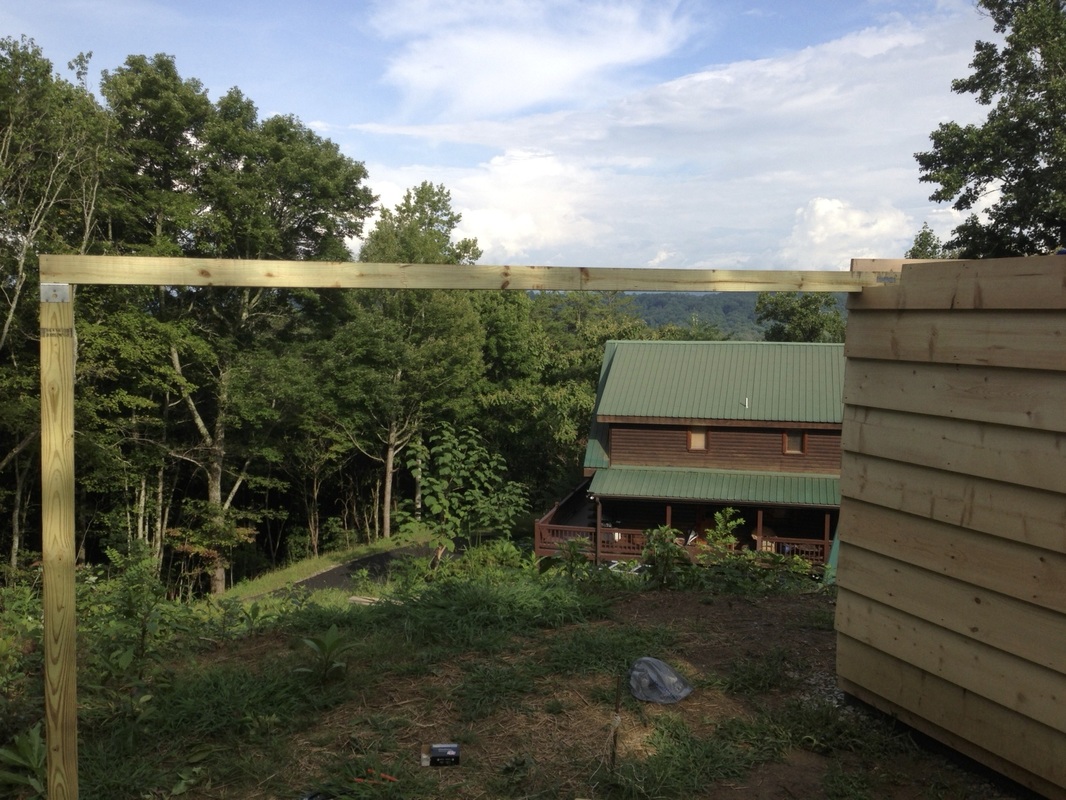
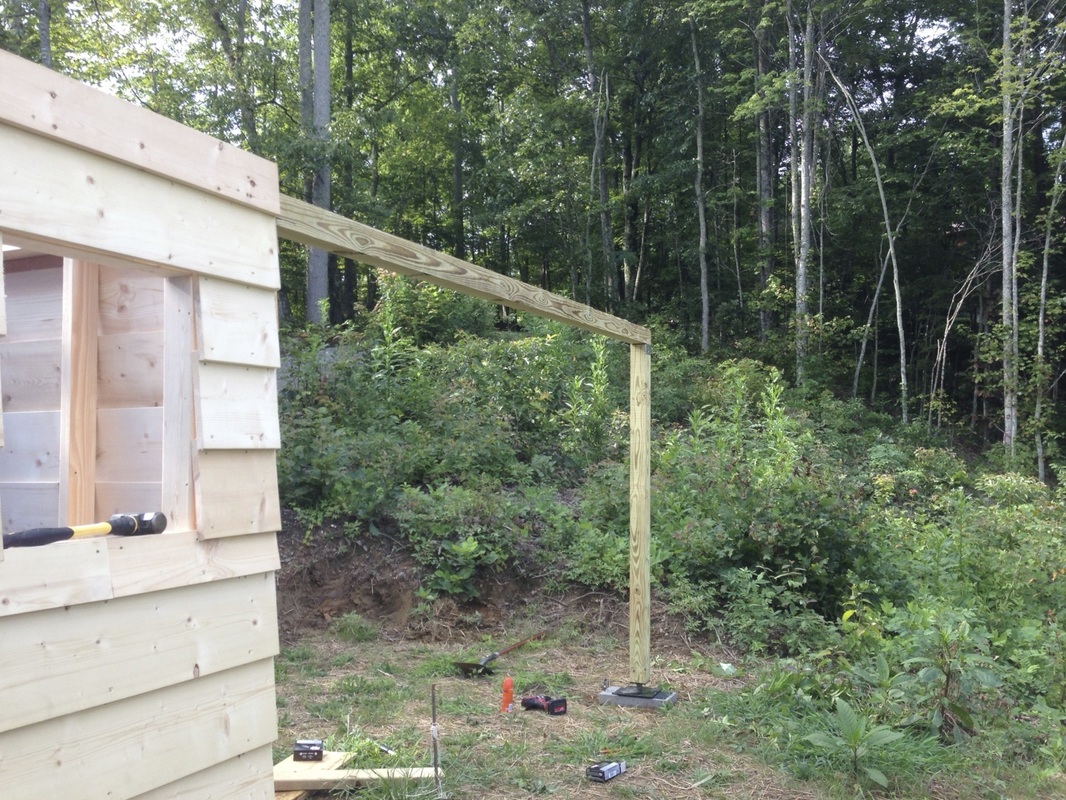
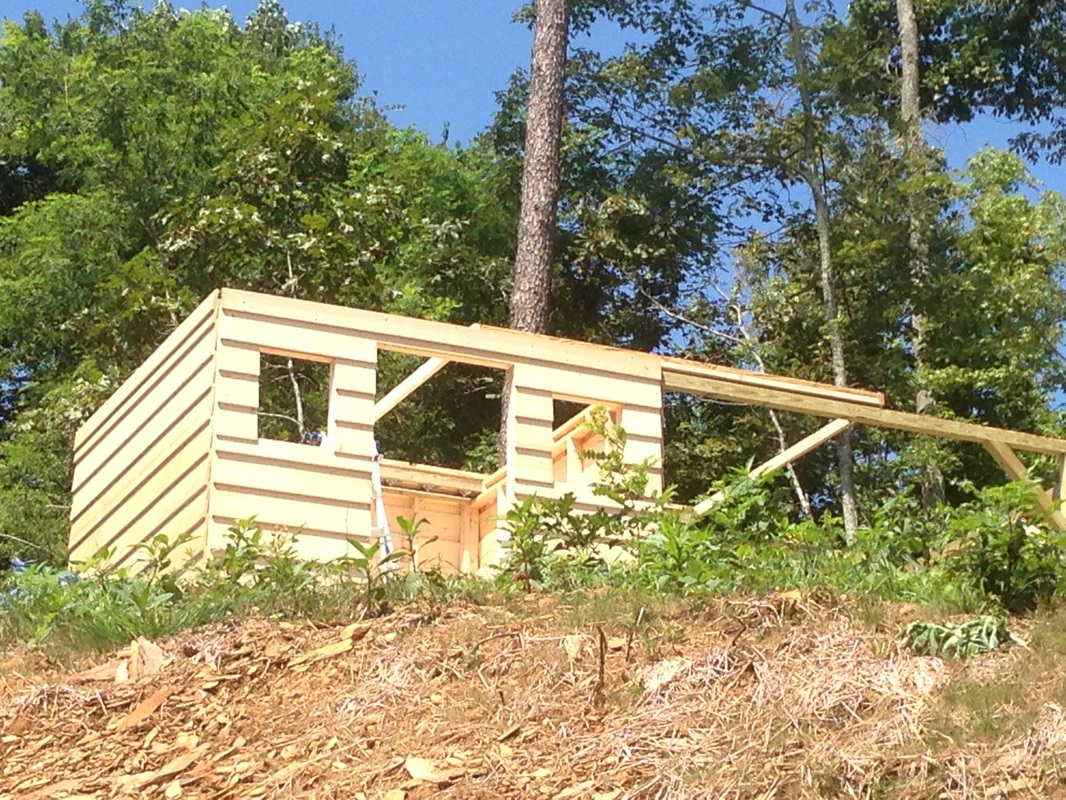
One thing I had not counted on was how heavy the walls would be to carry up the hill to the site of the observatory. SkyShed recommended constructing them and placing them versus building in place, so that's what I did. The east and west wall segments that have 4x4 support beams for the rolloff roof were particularly heavy and optimally would have required 3-4 people to move into place. We managed it with two people, however, it's not something I'd do the same way again. The walls are placed one-by-one and screwed into the 4x4s on the subfloor. Once all the walls are set, they are attached to each other with steel brackets.
The Rolloff Roof Support Braces
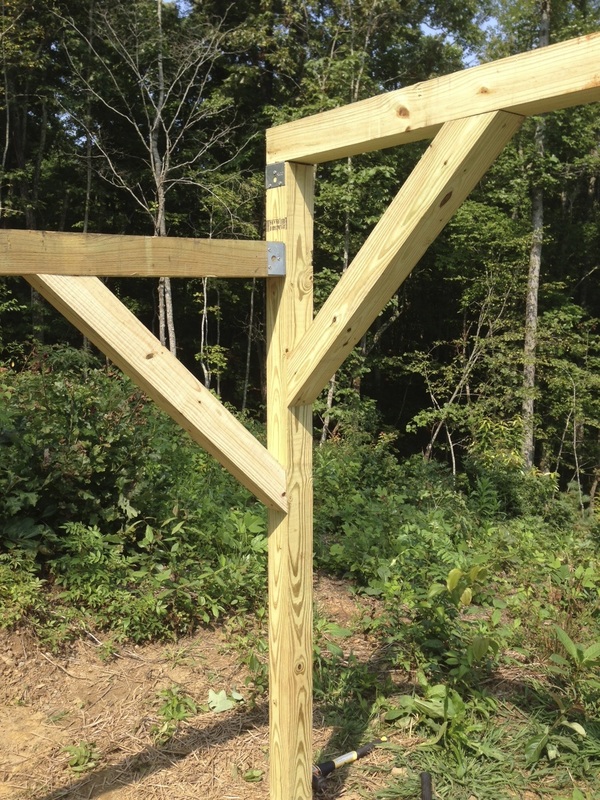
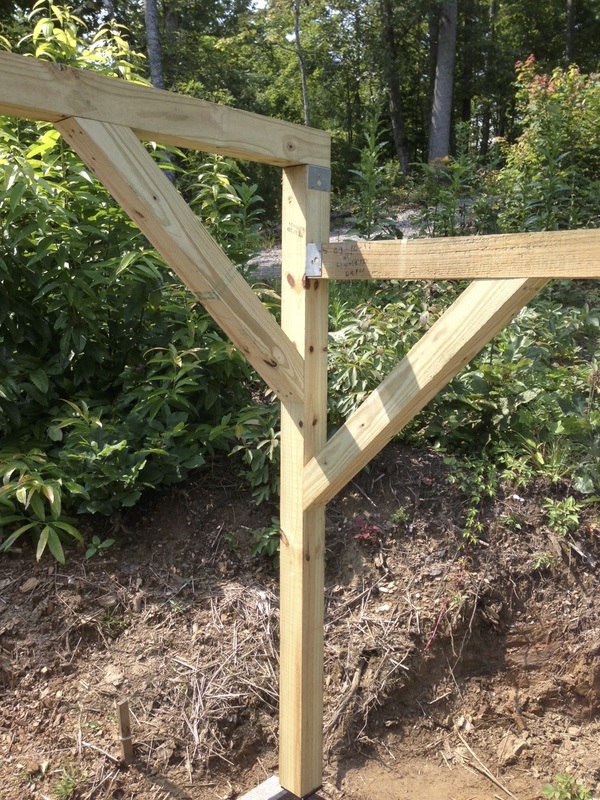
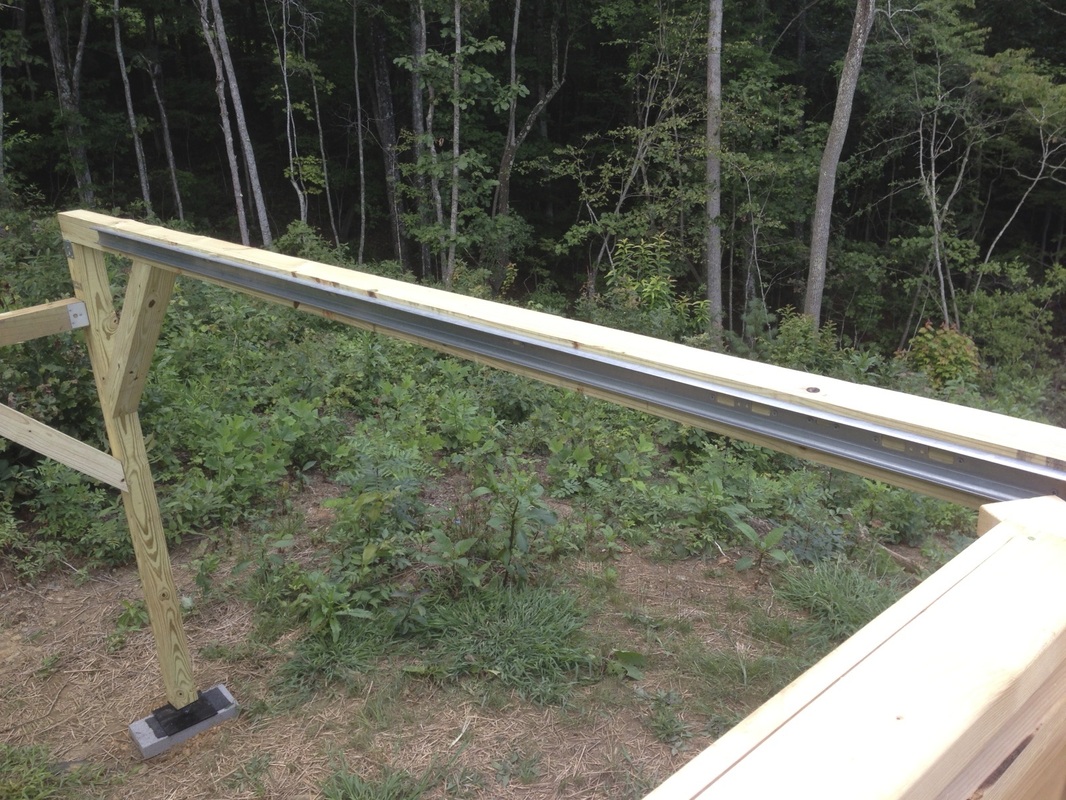
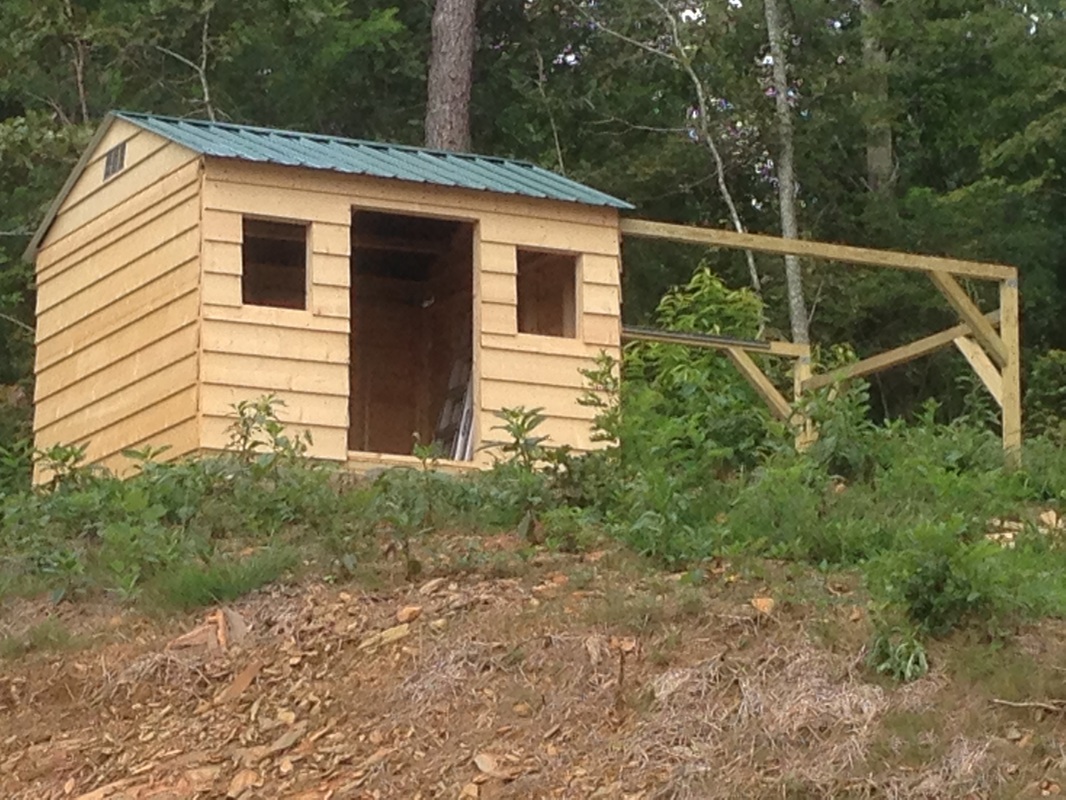
I built the rolloff roof supports following the standard SkyShed design. I had the jacks that support each of the rolloff rails custom built. You can buy these from SkyShed, but I found a local metal fabricator that could do them for less money. These support jacks make the process of leveling the rolloff rails tremendously easier, and they provide an easy method to make future leveling adjustments after settling has occurred. The most difficult part of this process was getting everything square and level. Precision is critical on this step to ensure that the rolloff roof will roll smoothly and reliability each use. Other than that, construction of this segment is pretty simple and didn't take but a few hours. I connected all the 4x4s with steel support brackets to provide additional strength over screws/nails alone.
The runoff rails are 2" industrial gauge steel garage door rails. I was able to get these from a local garage door supplier, albeit they were a custom order due to the length. A lot of folks who build SkySheds say this is one of the most expensive components, but it wasn't in my case. I'm not sure why.
The Roof
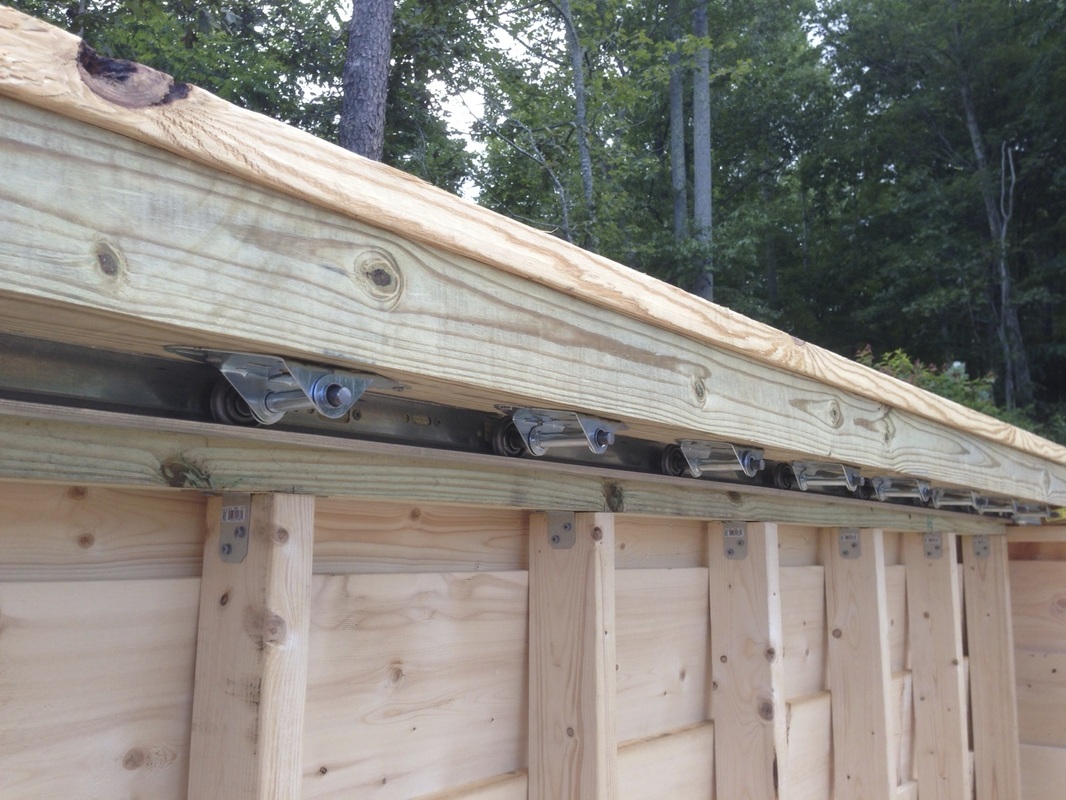
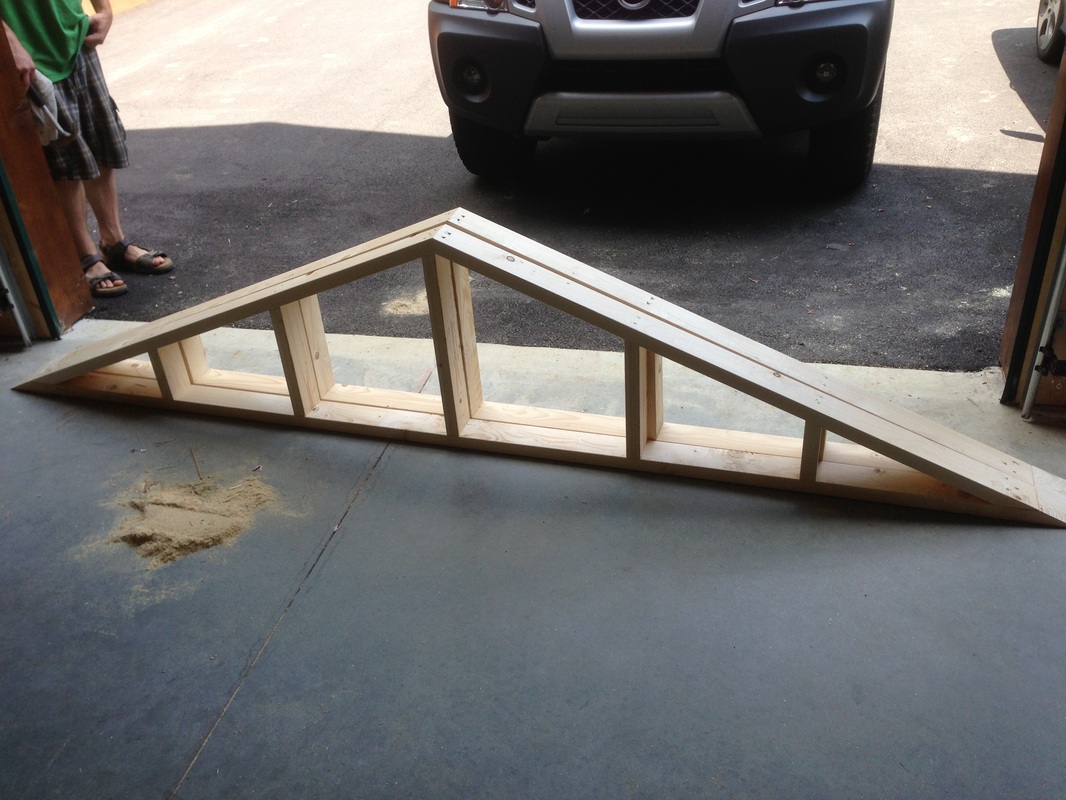
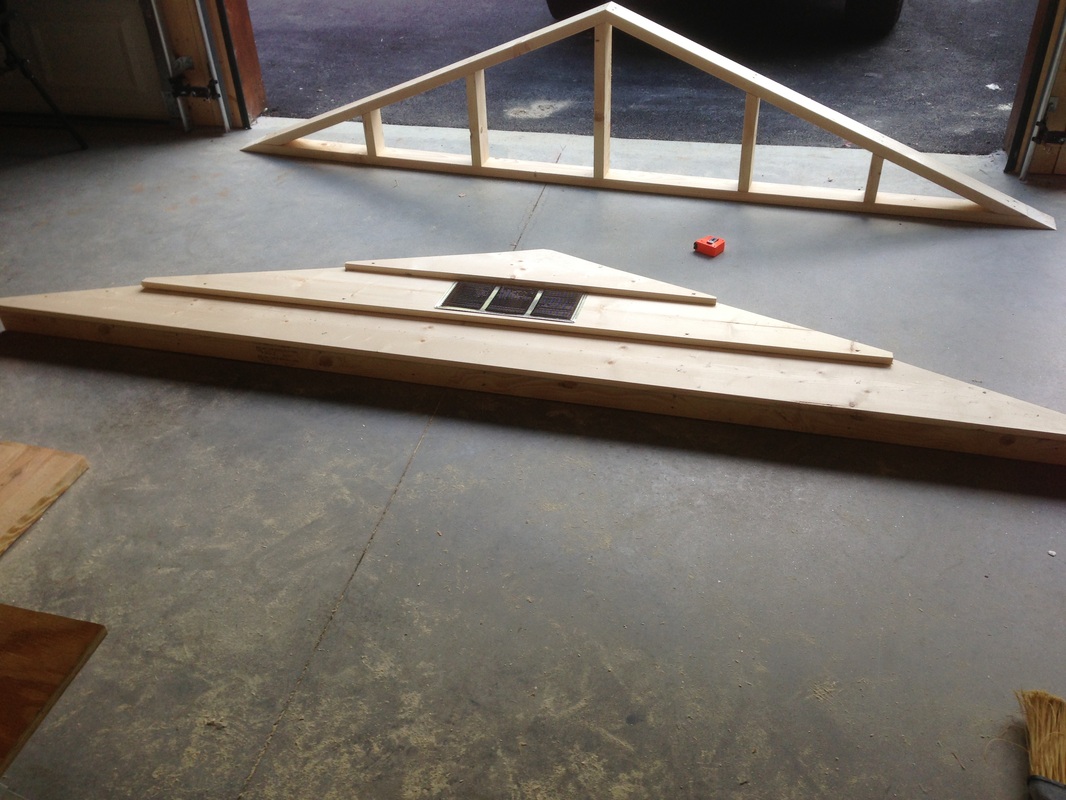
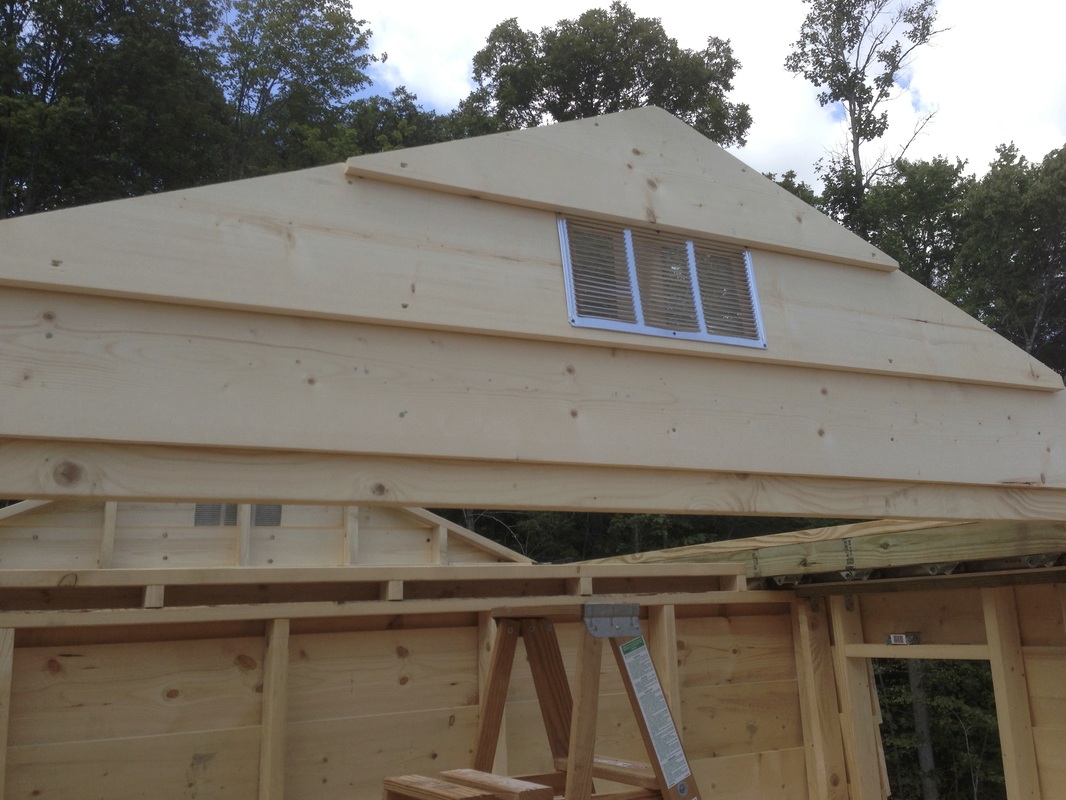
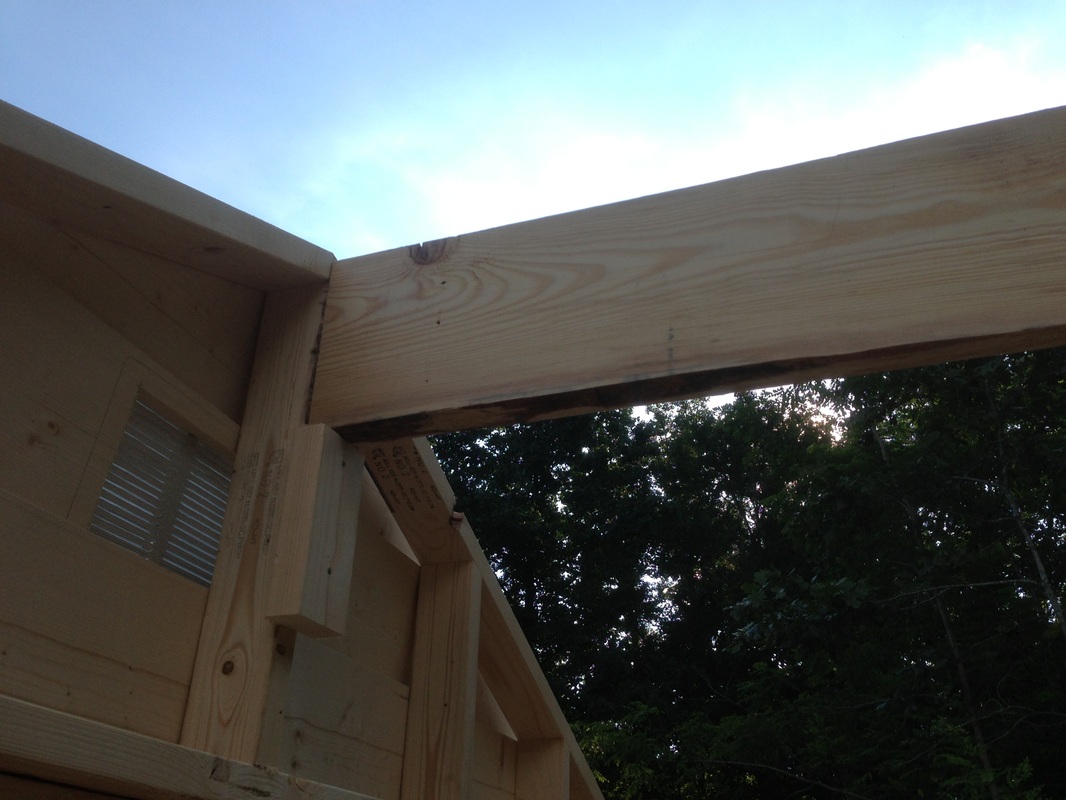
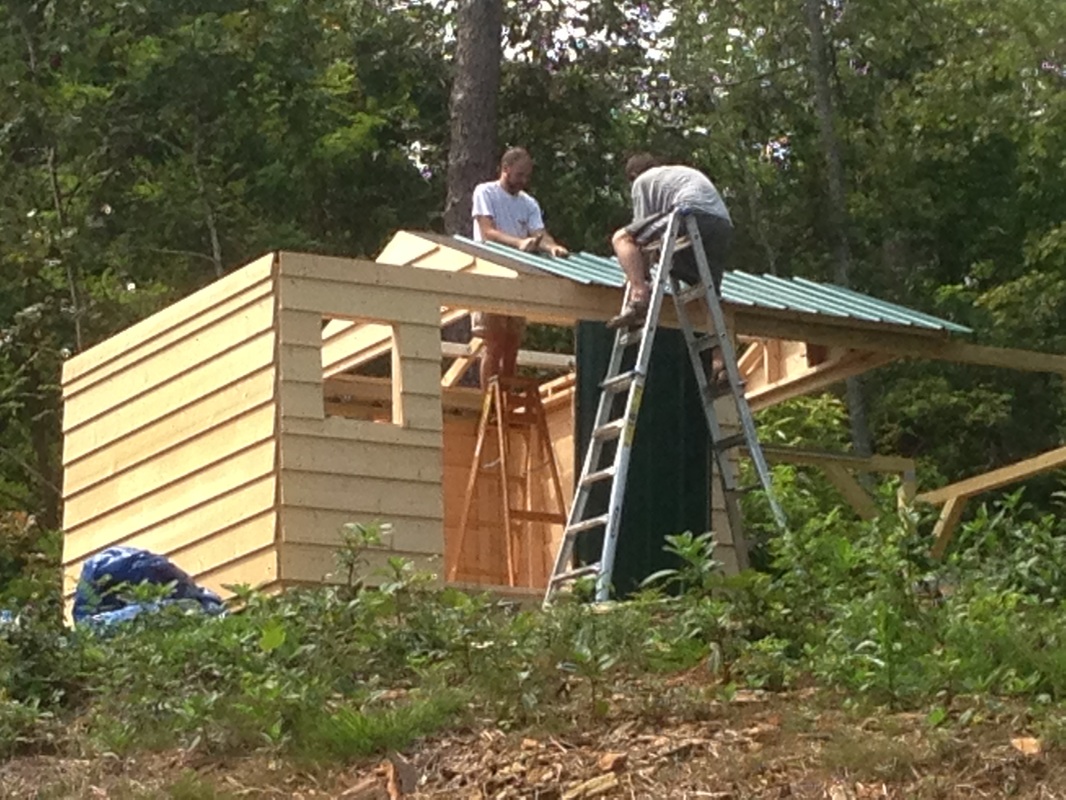
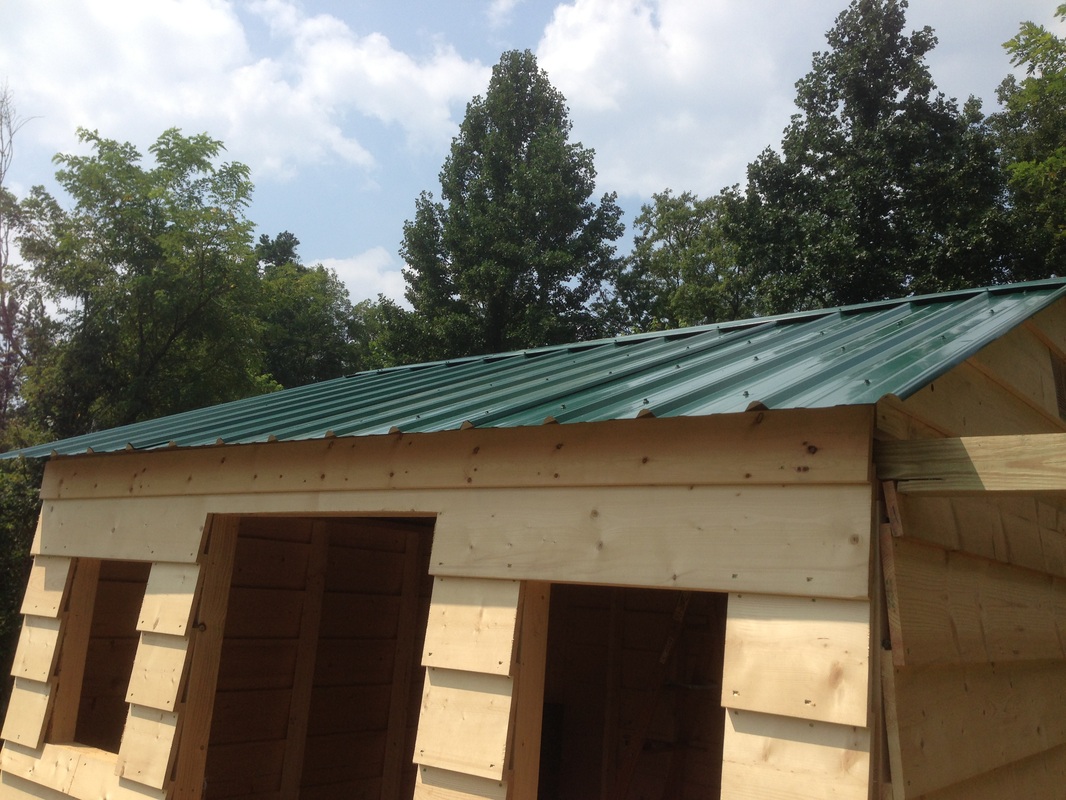
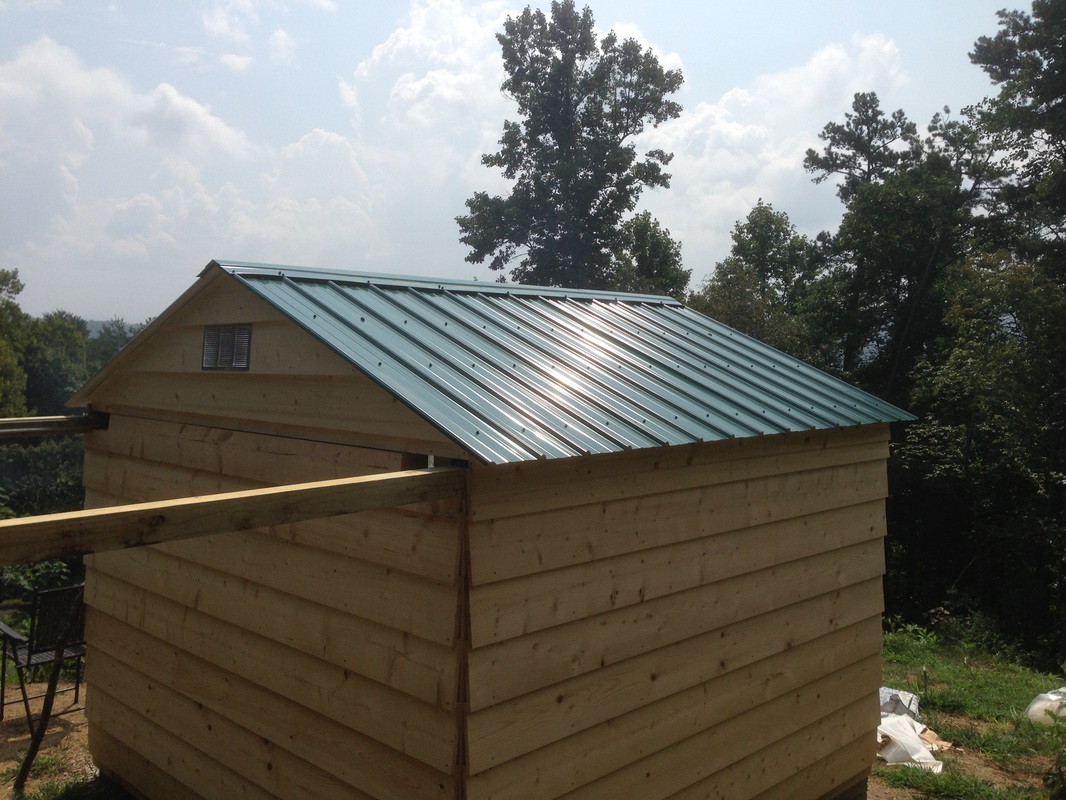
The roof is comprised of the rolloff rail box that the roof sits and rides on, the gables, the roof support braces/trusses, and the steel roofing material. The roof is built per the standard SkyShed plans. It's very important to use a sufficient number of garage door rollers to support the weight of the roof, realizing that these were never really designed to support horizontal weight of this magnitude. It does work and it works well, but this is not the place to skimp on cheaper materials. Buy the heaviest gauge rollers you can get.
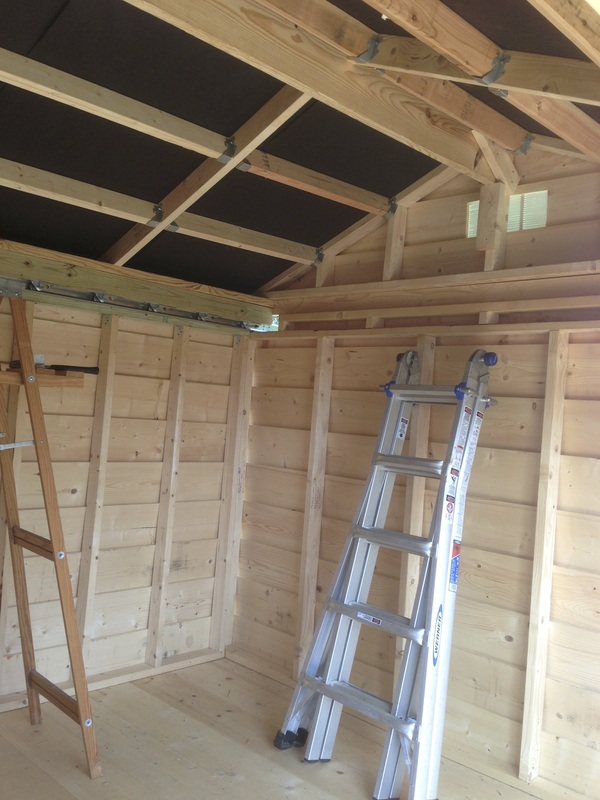
The toughest part of the roof construction was making the angled cuts for the gable and trusses. The roof is at a rather shallow angle (22.5 degrees) and these cuts can be tough to make even with a miter saw. Once cut, the trusses went up easily. I installed roofing paper under the metal roofing material to serve as a moisture barrier. Fortunately, I didn't have to make any cuts on the metal roofing. With a little planning for overlap, you can avoid cuts in most cases.
Finishing Touches
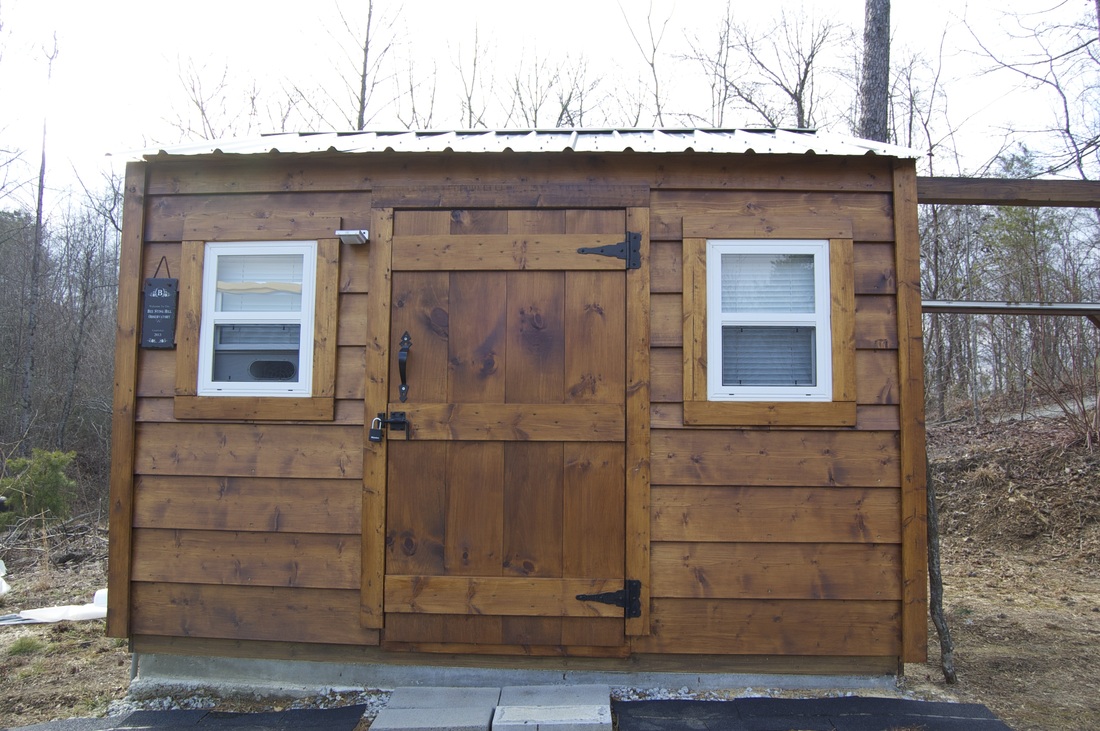
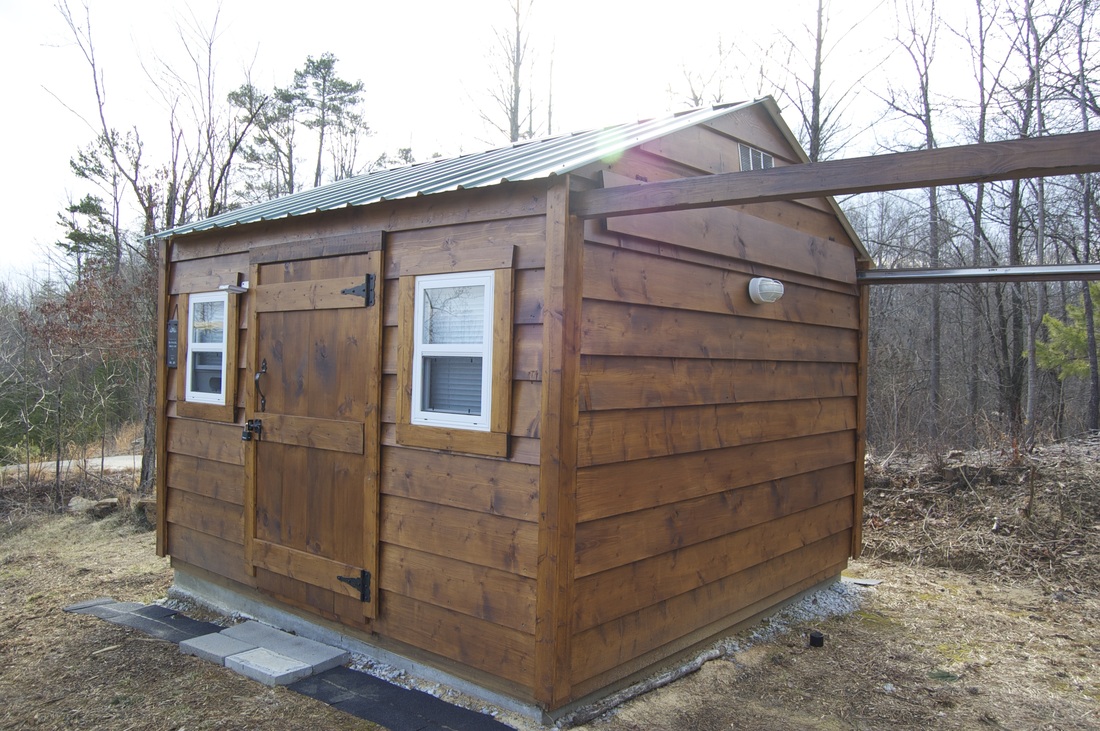
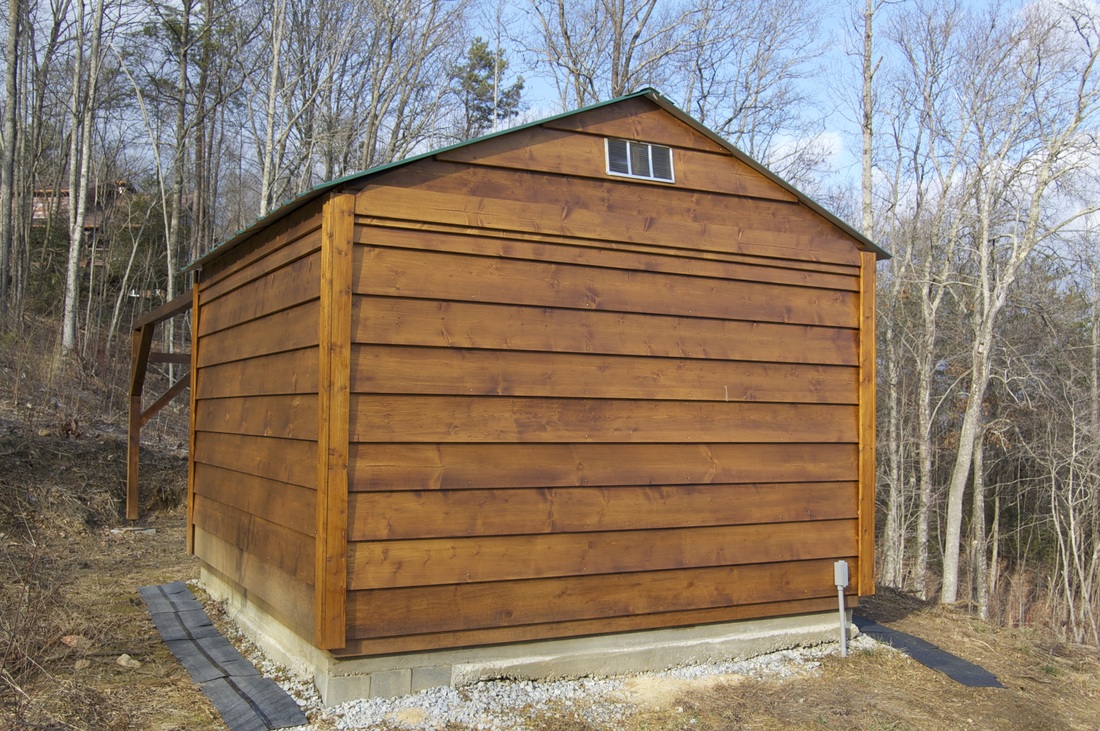
After the roof was installed, all that was left was to install the exterior trim, windows, door, run the electrical and stain the building.
After the roof was installed, all that was left was to install the exterior trim, windows, door, run the electrical and stain the building.
- Trim - the trim is installed on each corner, around the windows, and around the door. It helps seal up the observatory and provides the final finished look.
- Windows - instead of building the windows per the SkyShed plans, I found that Lowe's Hardware carries pre-build windows that are small enough to fit perfectly and have the added benefit that they can be opened to help with venting/heat control. They were cheaper and easier than what I could have built myself.
- Door - I built the door per the SkyShed plans. Since the observatory is only six feet tall, you're limited with commercial options that are available. The door was easy to build and provides a more seamless look.
- Stain - Most folks recommend going with lighter colors for the siding and the roof to help maintain temperature control. I wanted the building to fit in better with the cabin and the garage, so I opted to stain it and use the same color roofing metal that is on the house and garage. I haven't really had any issues maintaining reasonable temperatures. In Georgia, it gets hot in the summer and no matter what colors you use, you are going to need some sort of A/C or environmental control anyway.
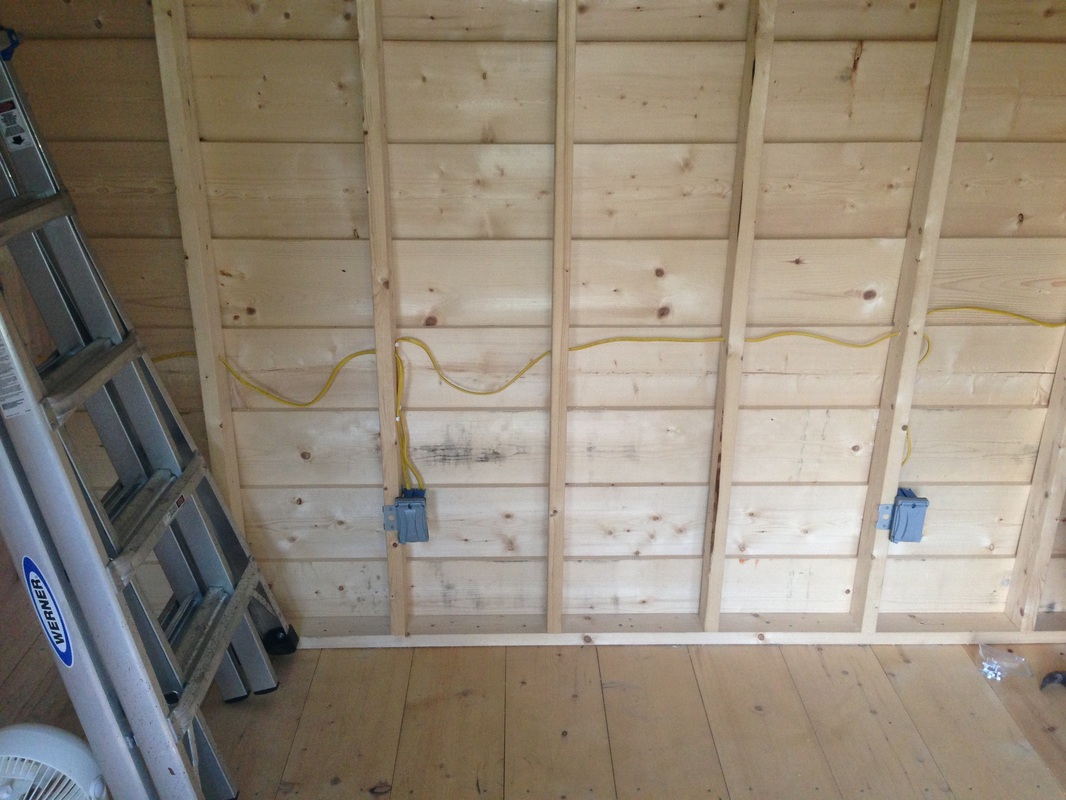
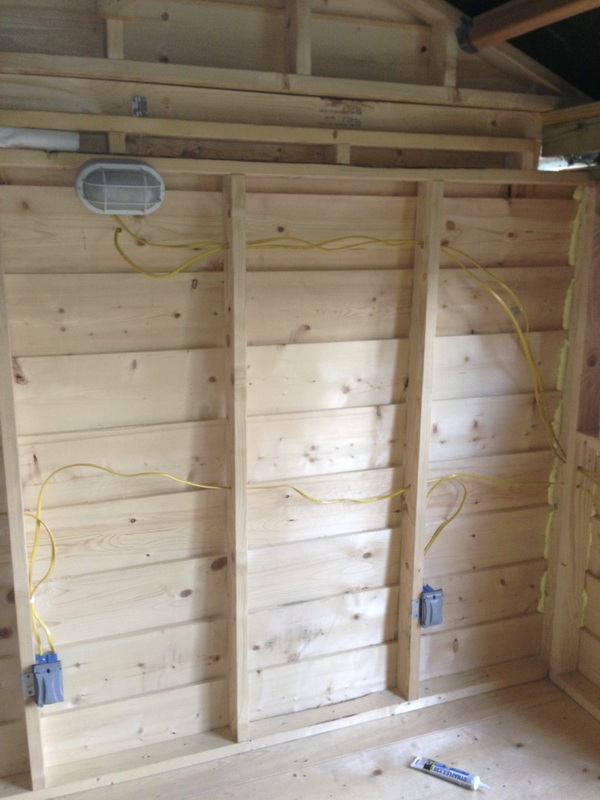
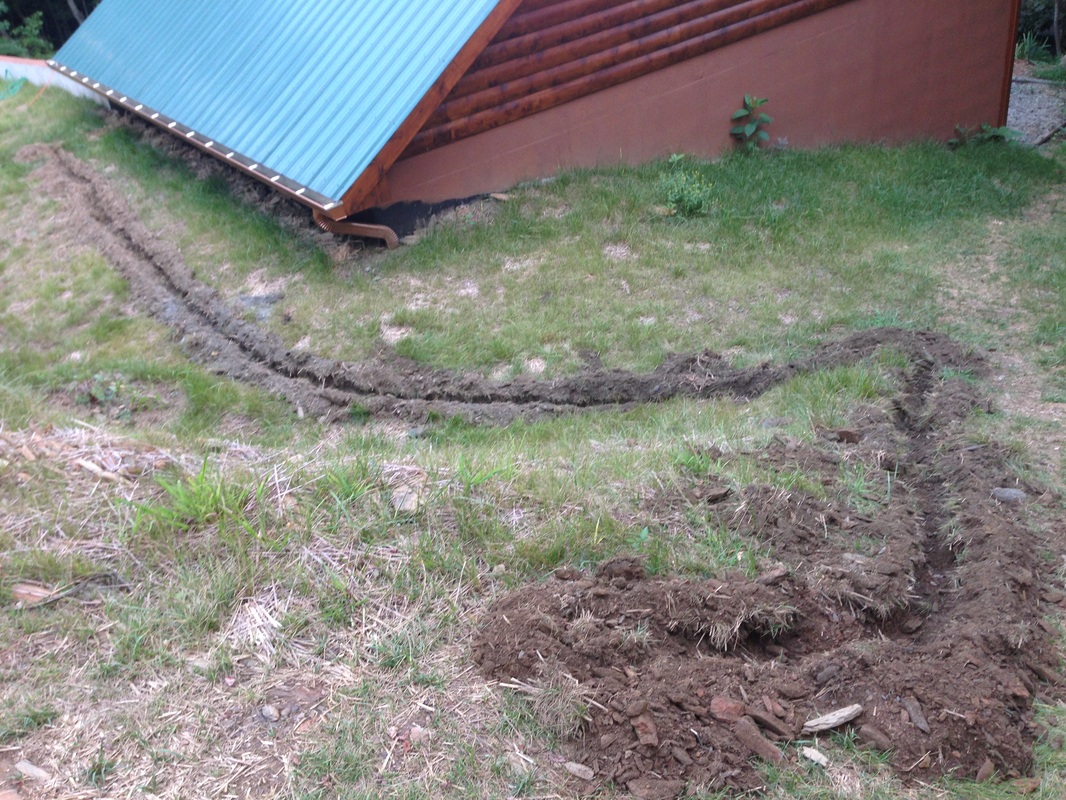
- Electrical - I'm not an electrician, but I knew enough about it that I figured I could handle it. When I had my garage built, I had extra circuits run so that I could easily access them from outside the garage, knowing that I would eventually build the observatory. I ran the wire underground from the garage in conduit per code up to the observatory. Inside the observatory, I added 6 GFCI outlets and two lights. The process was pretty simple overall and provides sufficient power to run all my equipment, multiple computers, and an A/C and fan unit to help with temperature control prior to observing sessions.
